Synchronizing data records from Flowfinity to external systems using Zapier (Read)
Flowfinity provides the ability to integrate with external systems by enabling access to views in apps via Representational State Transfer (REST) Application Programming Interface (API) services. When access is enabled, programmers can use an HTTPS request/response-based REST API model to query view data in Flowfinity.
This article outlines how to configure Zapier with Flowfinity app Views to enable one-way synchronization of new and updated records from a Flowfinity app to an external system. In this example, the synchronized records will be sent to the user's email address instead of saving the data to external system storage.
This tutorial uses a demo Lead Registration app as an example. To follow along you may download and import an FTF file of the Lead Registration app to your Flowfinity site.
Introduction
Synchronizing records is a common requirement when integrating systems. For the process to work smoothly, the synchronization must be timely, reliable, and transactional. This means being able to recover from network and system errors without creating duplicates or losing records in the process.
Zapier's platform includes techniques that automate synchronization (such as de-duplication of records) and improve reliability (via retries) while simplifying implementation complexities.
To enable Zapier synchronization, Flowfinity automatically alters the view configured in the app, according to Zapier's requirements.
Step 1: Enabling REST API surface configuration
Enable REST integration by assigning a dedicated integration user, providing access to app operations and creating a view in the App Editor by following these steps.
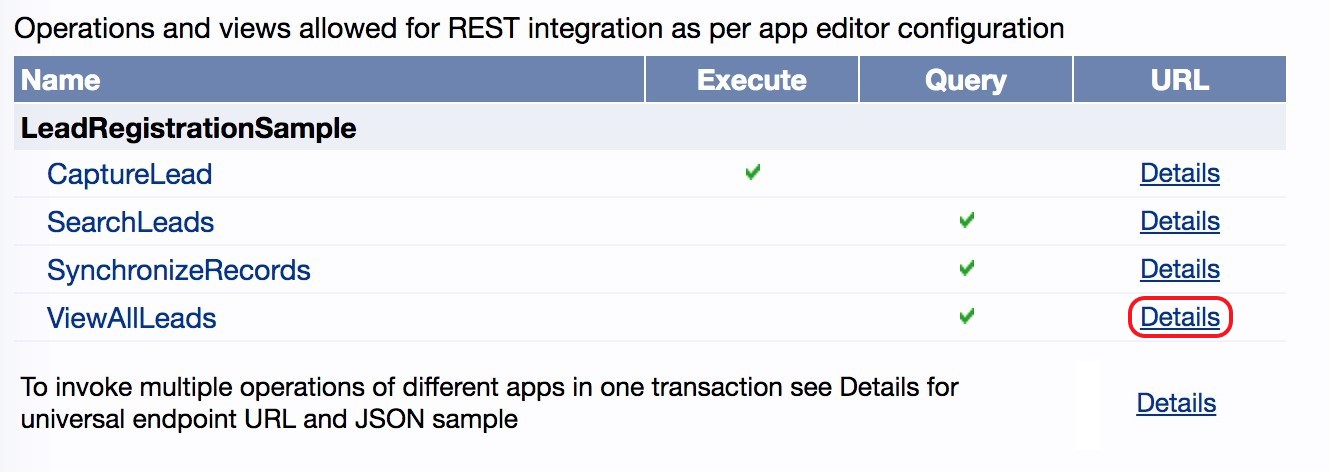
Once external integration is enabled the REST URL endpoint address for submitting operations to Flowfinity will be displayed in the Configure > Integration > REST Integration section. Click the Details link to see the JSON payload.
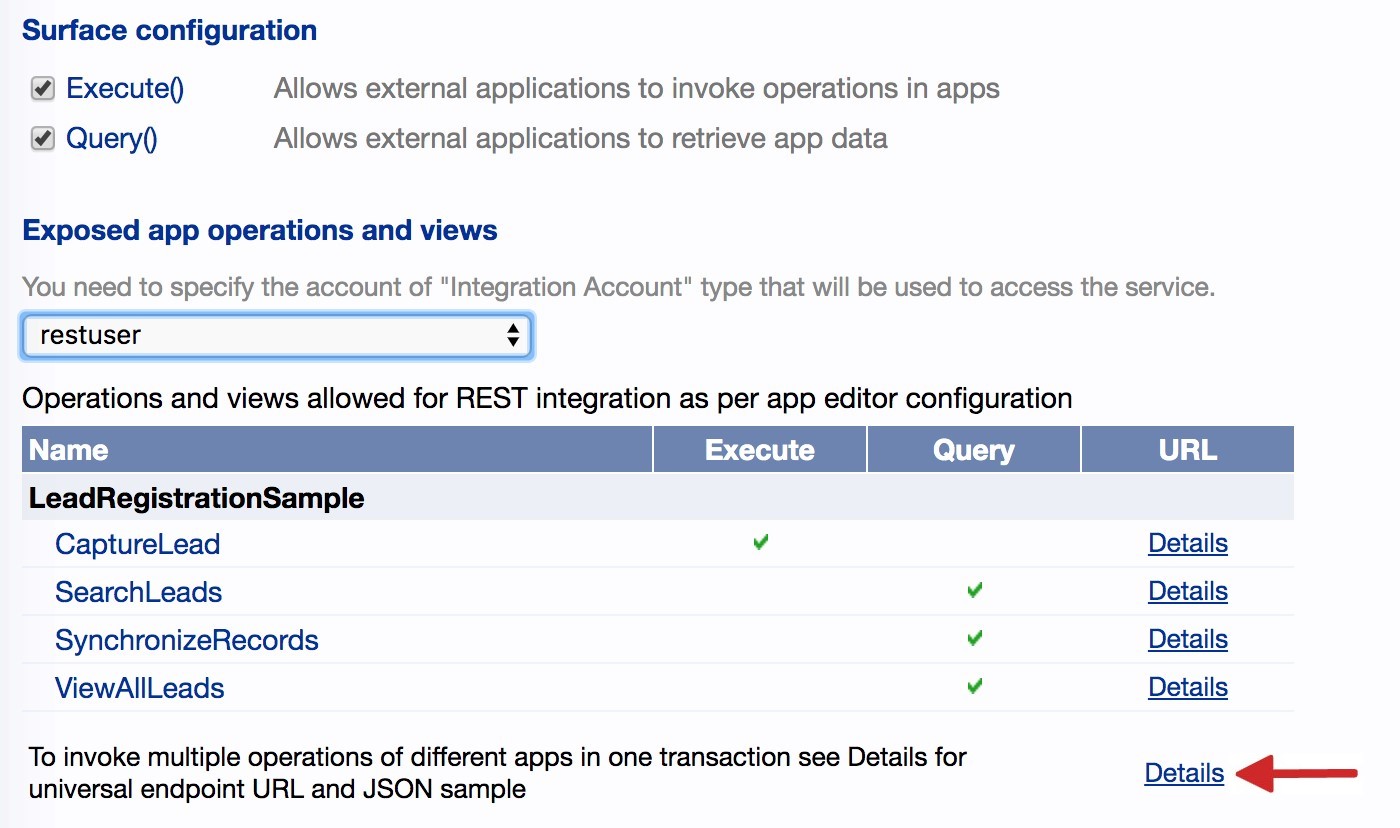
Step 2: Configure a dedicated View that will be used for synchronization
You can use any View as a source of records for Zapier synchronization, no special parameters are required.
When Zapier makes a polling request to a View, Flowfinity will include an additional filter to return only data records from the last week. This is done to prevent returning hundreds of records in the synchronization response. This period can be adjusted in Flowfinity to allow for more records if necessary.
Flowfinity will also override the sorting order, records will be displayed in descending order by the modification time and will include a unique ID and the date the record was last updated for each record. Both of these are required by Zapier.
The view must be enabled for REST API query access in the Integration tab. See step 4 in the Integration Concepts 1 – How to configure REST in Flowfinity article for details on setting up a dedicated REST View.

Step 3: Configure a Zapier integration connector
For Zapier to invoke REST API, it needs to call a product-specific connector object, which is an interface that isolates the actual REST JSON and URL from the end-user. To use the REST API for synchronizing records, we first must create a connector using the free Zapier Developer Portal located at https://zapier.com/app/developer.
Note: Ensure you are on the Zapier Platform 'Developer' site and not the Zapier Dashboard.
- Navigate to 'My Integrations' and click the 'Start a Zapier Integration' button.

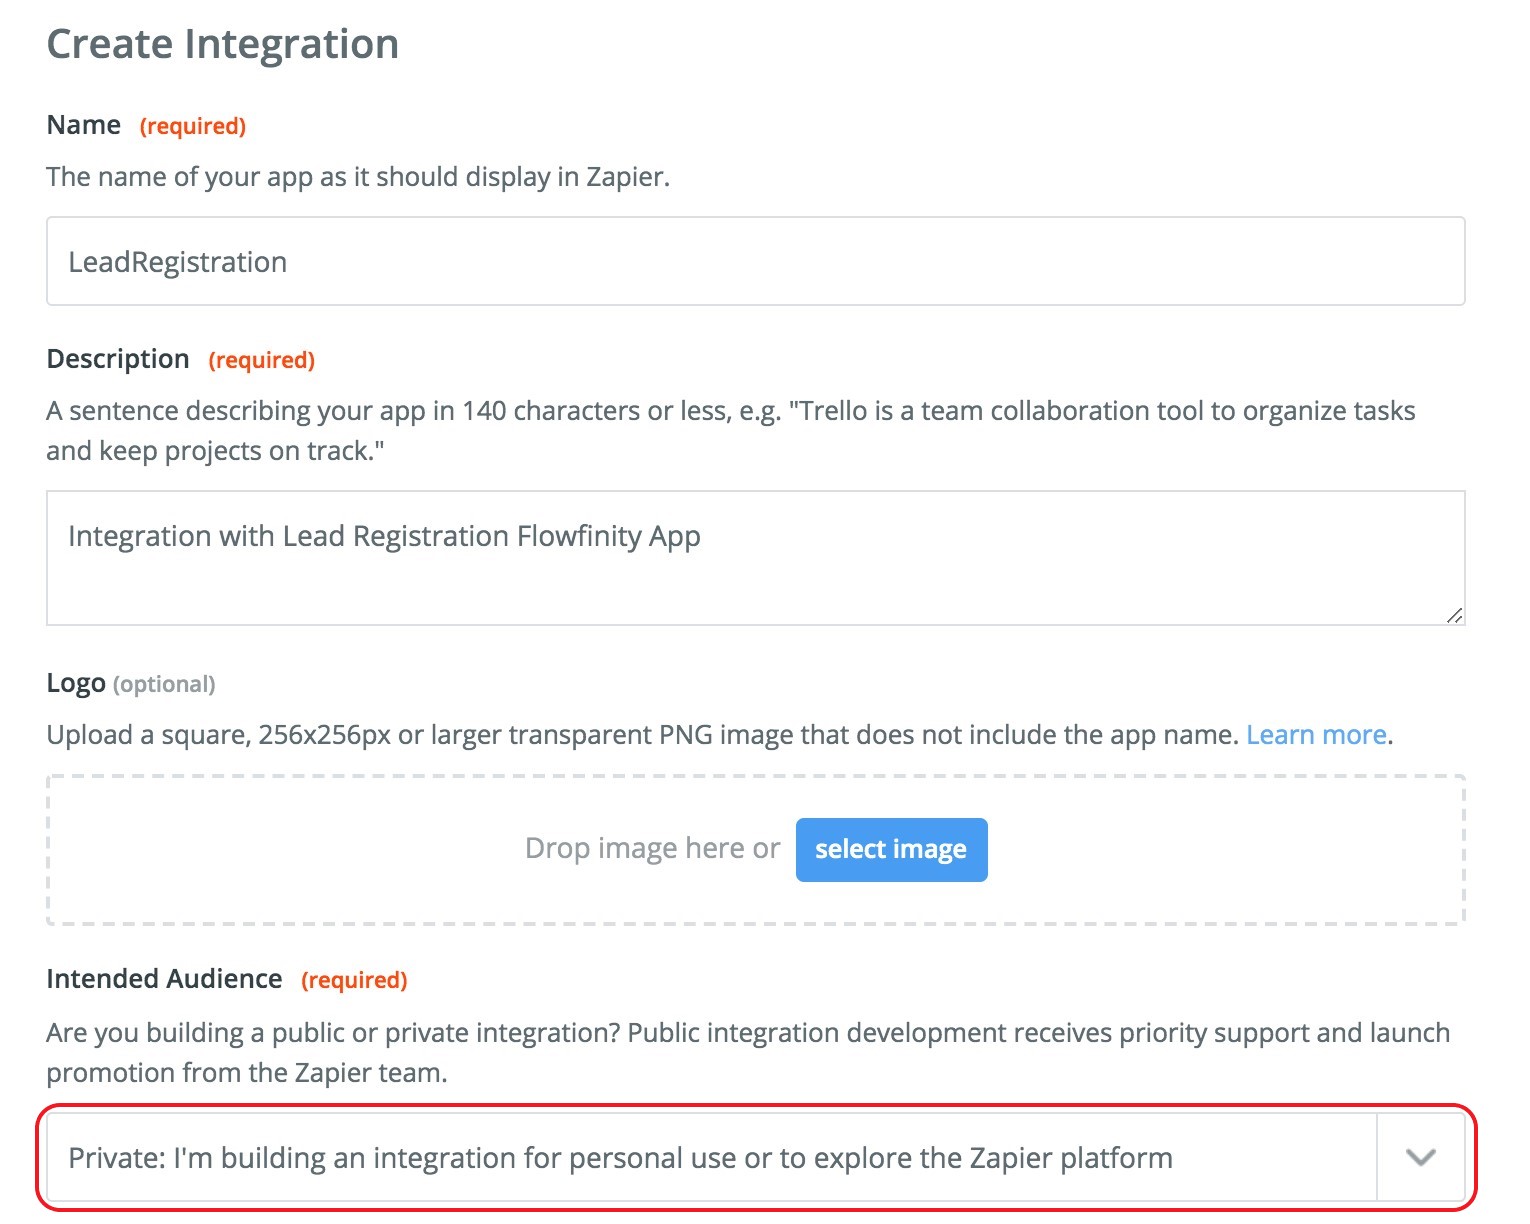
- Complete the name and description fields and add a logo if desired. As this is a custom integration, select 'Private' as the Intended Audience. Private integrations do not require approval and will not be visible to other Zapier users. Complete the rest of the form as follows:
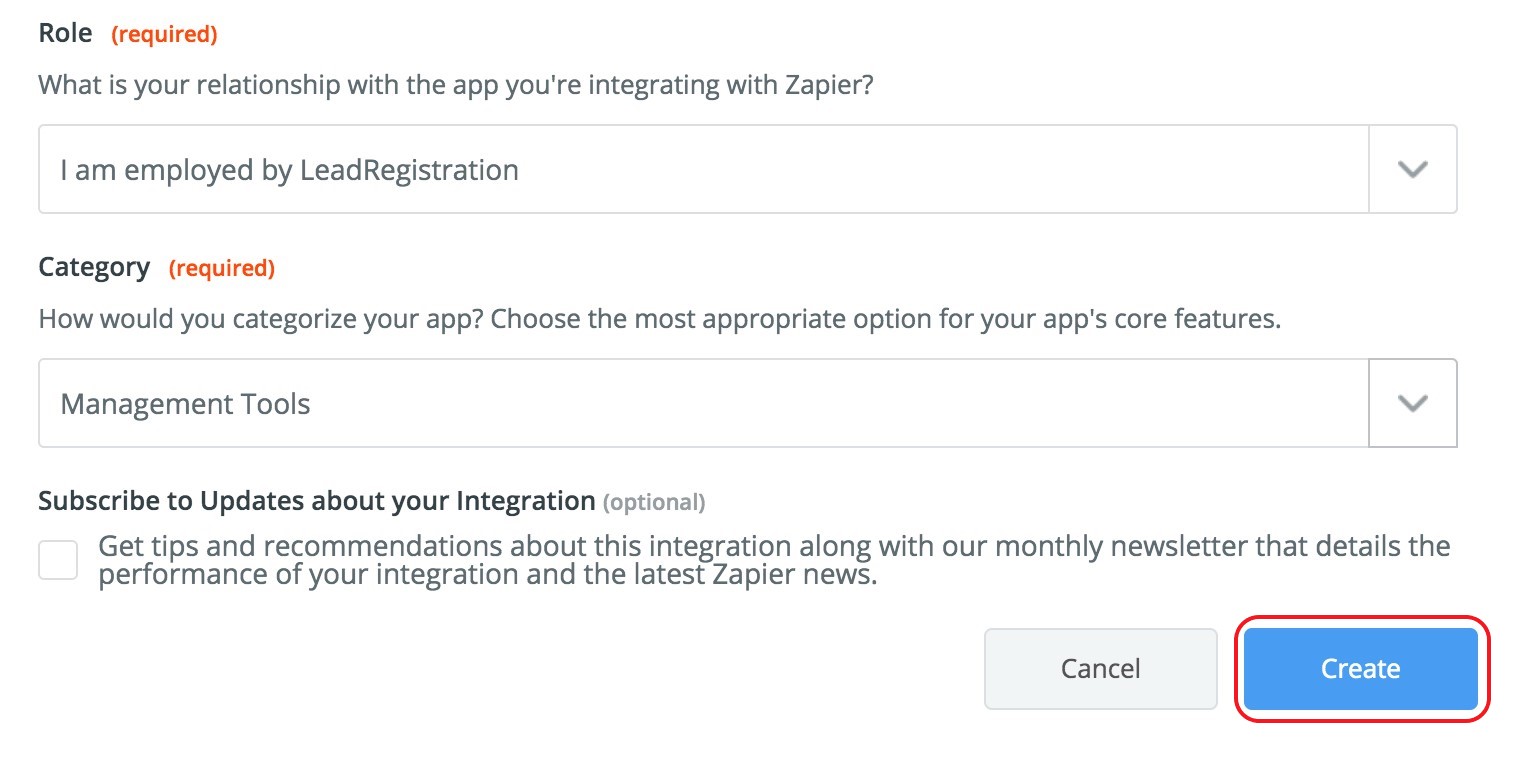
- Click 'Create.' The Integration Home page will appear. To finalize the integration for synchronization, you will need to set up the authentication and create a trigger.
Note: you can use the same integration entity later to add support for operation invocation via Flowfinity. Please see this article for details.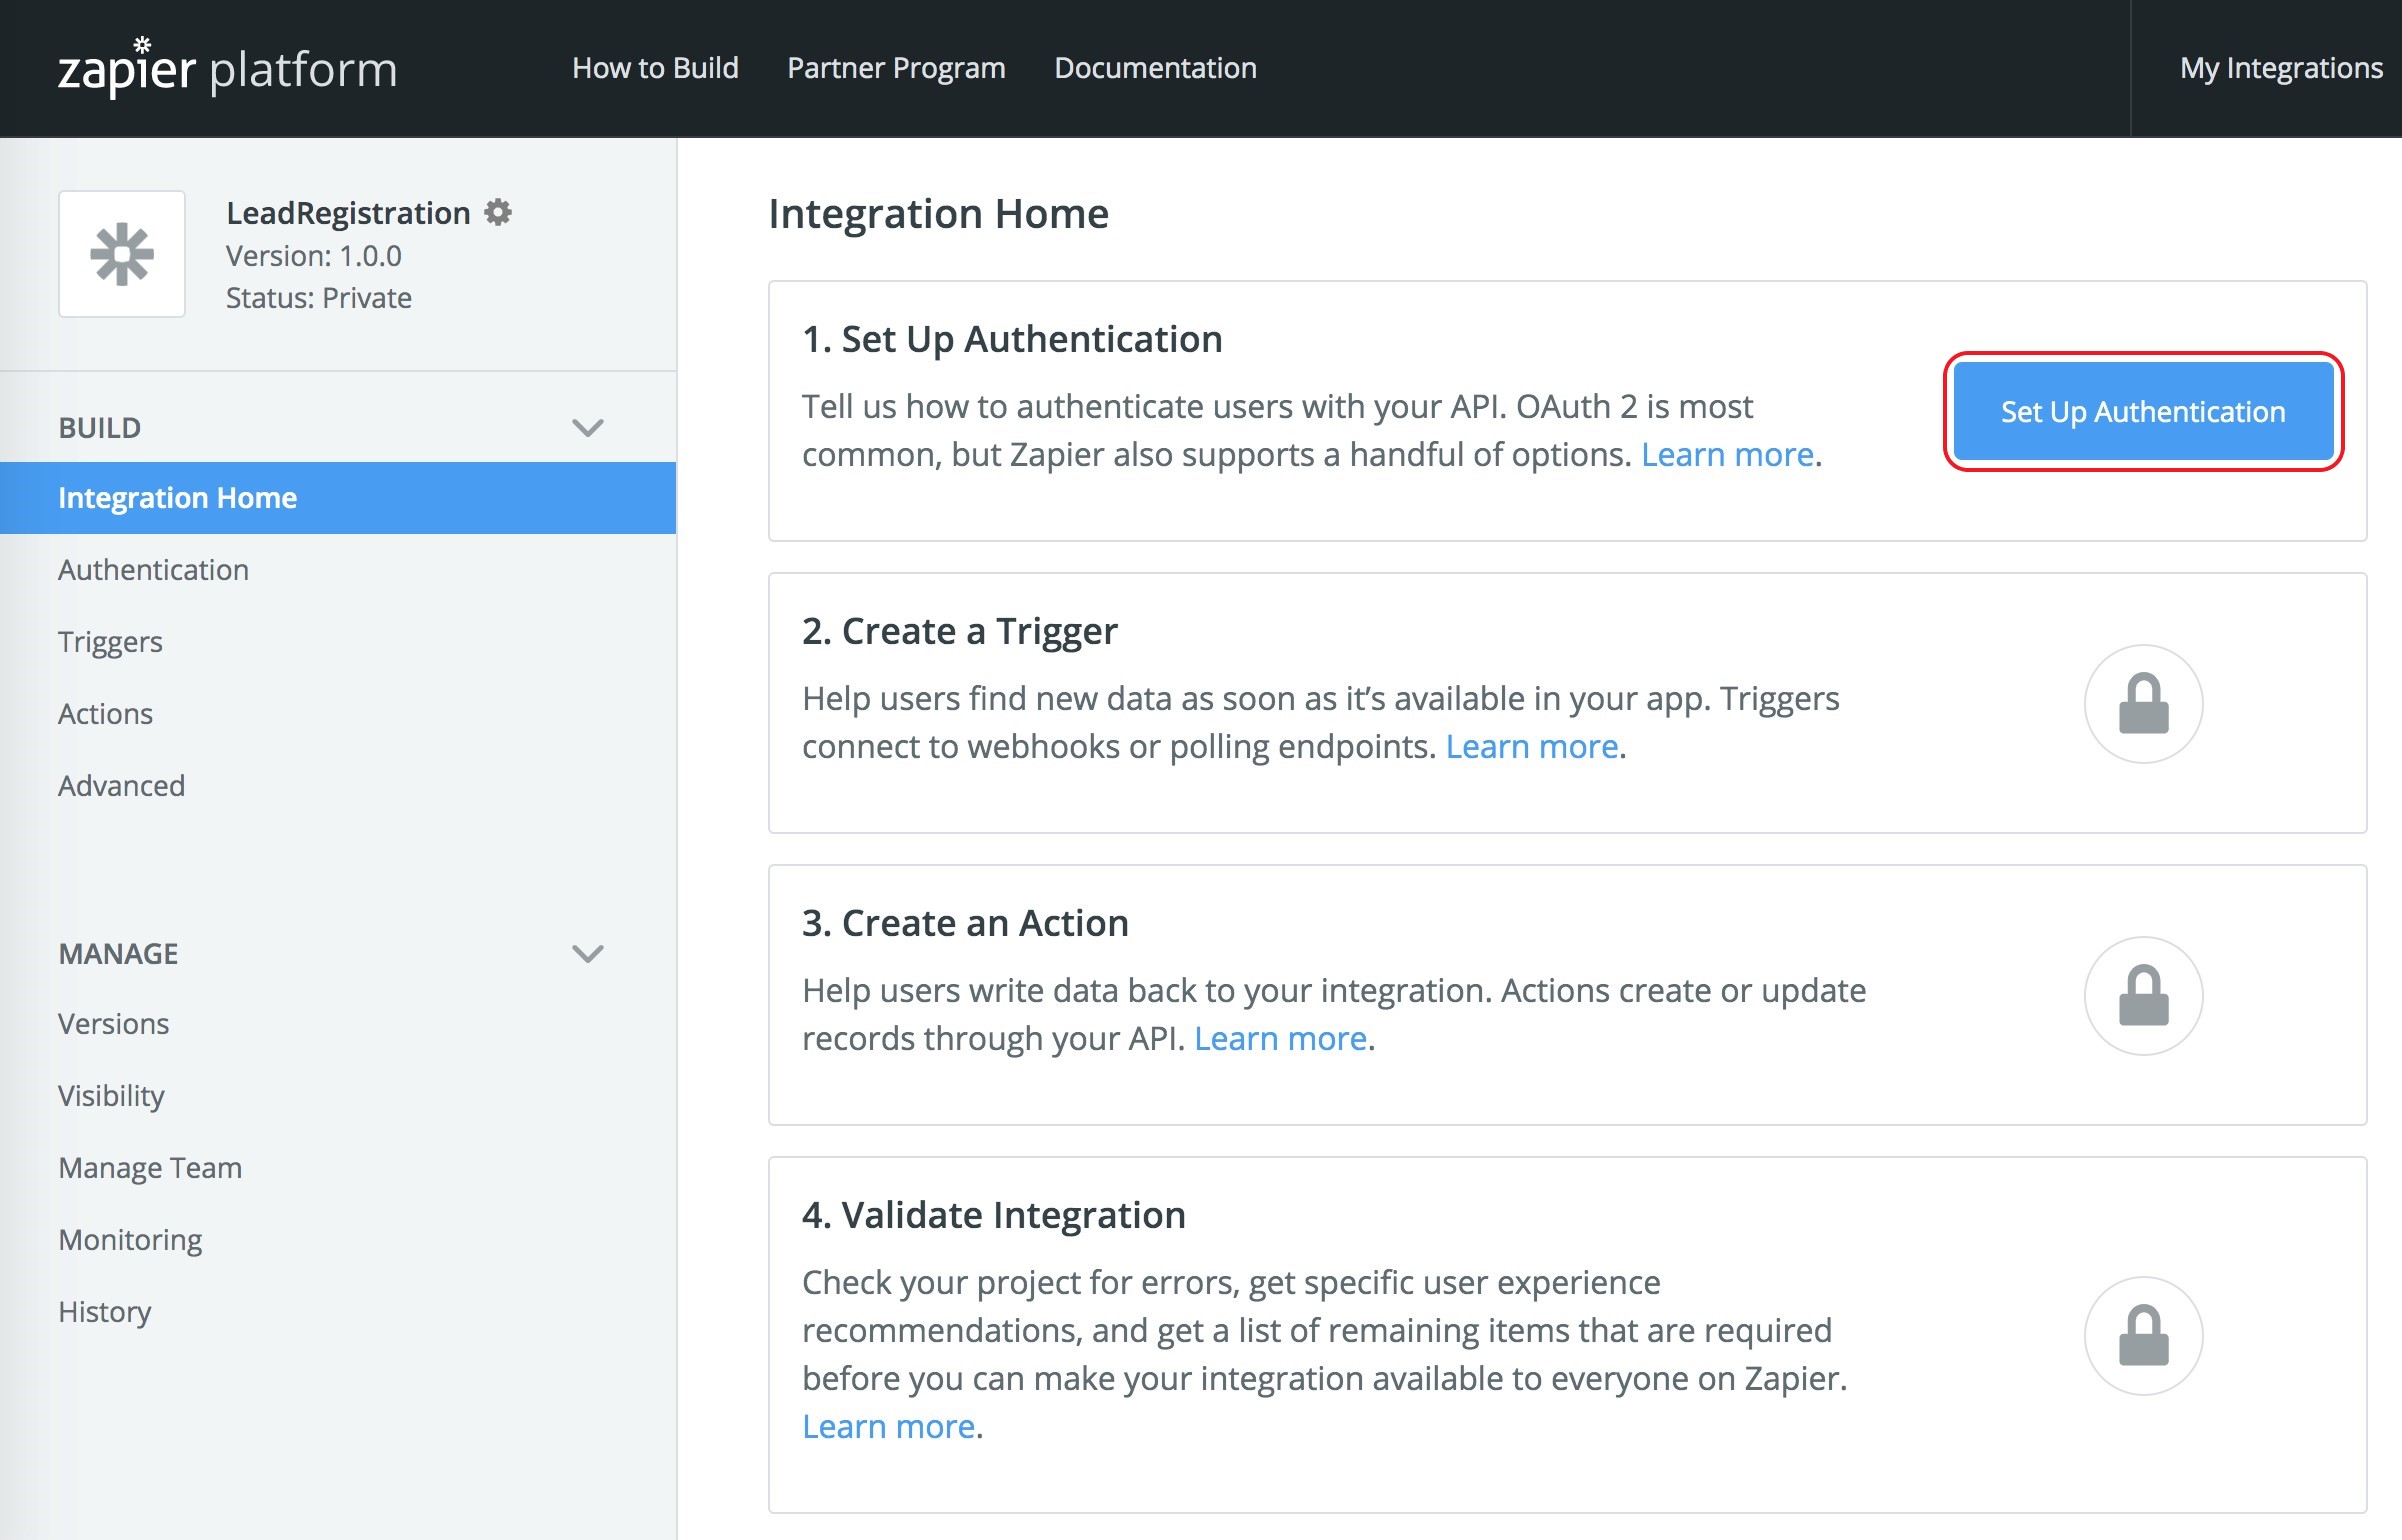
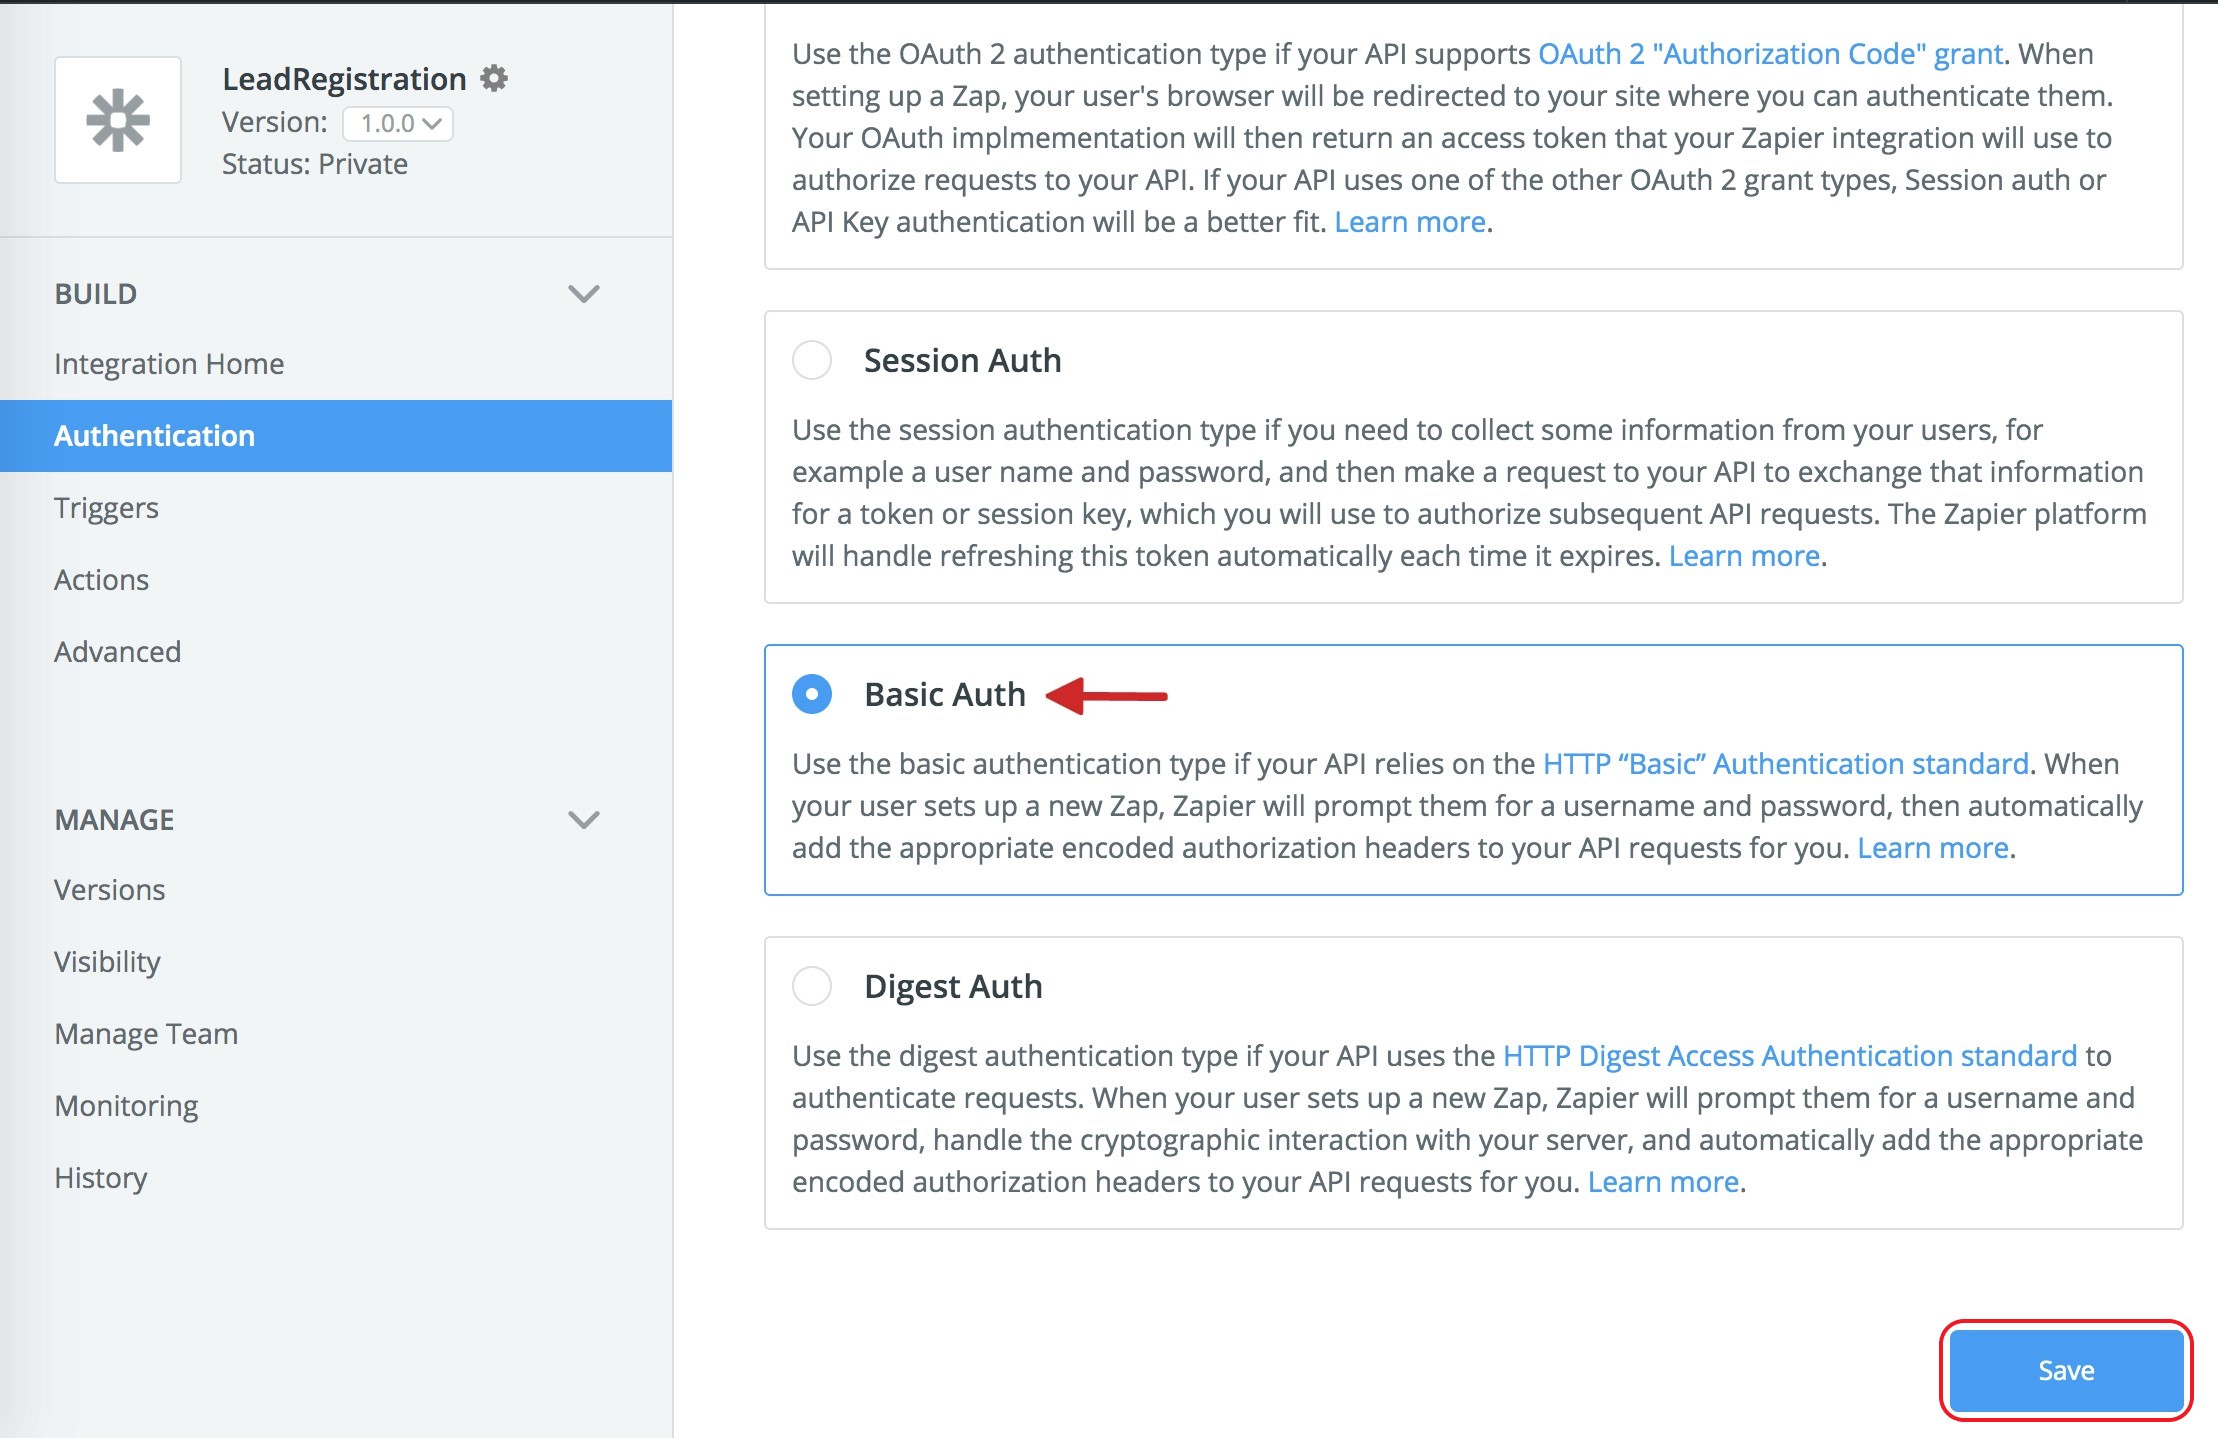
- Click 'Set up Authentication' and select the 'Basic Auth' method. Click 'Save.'
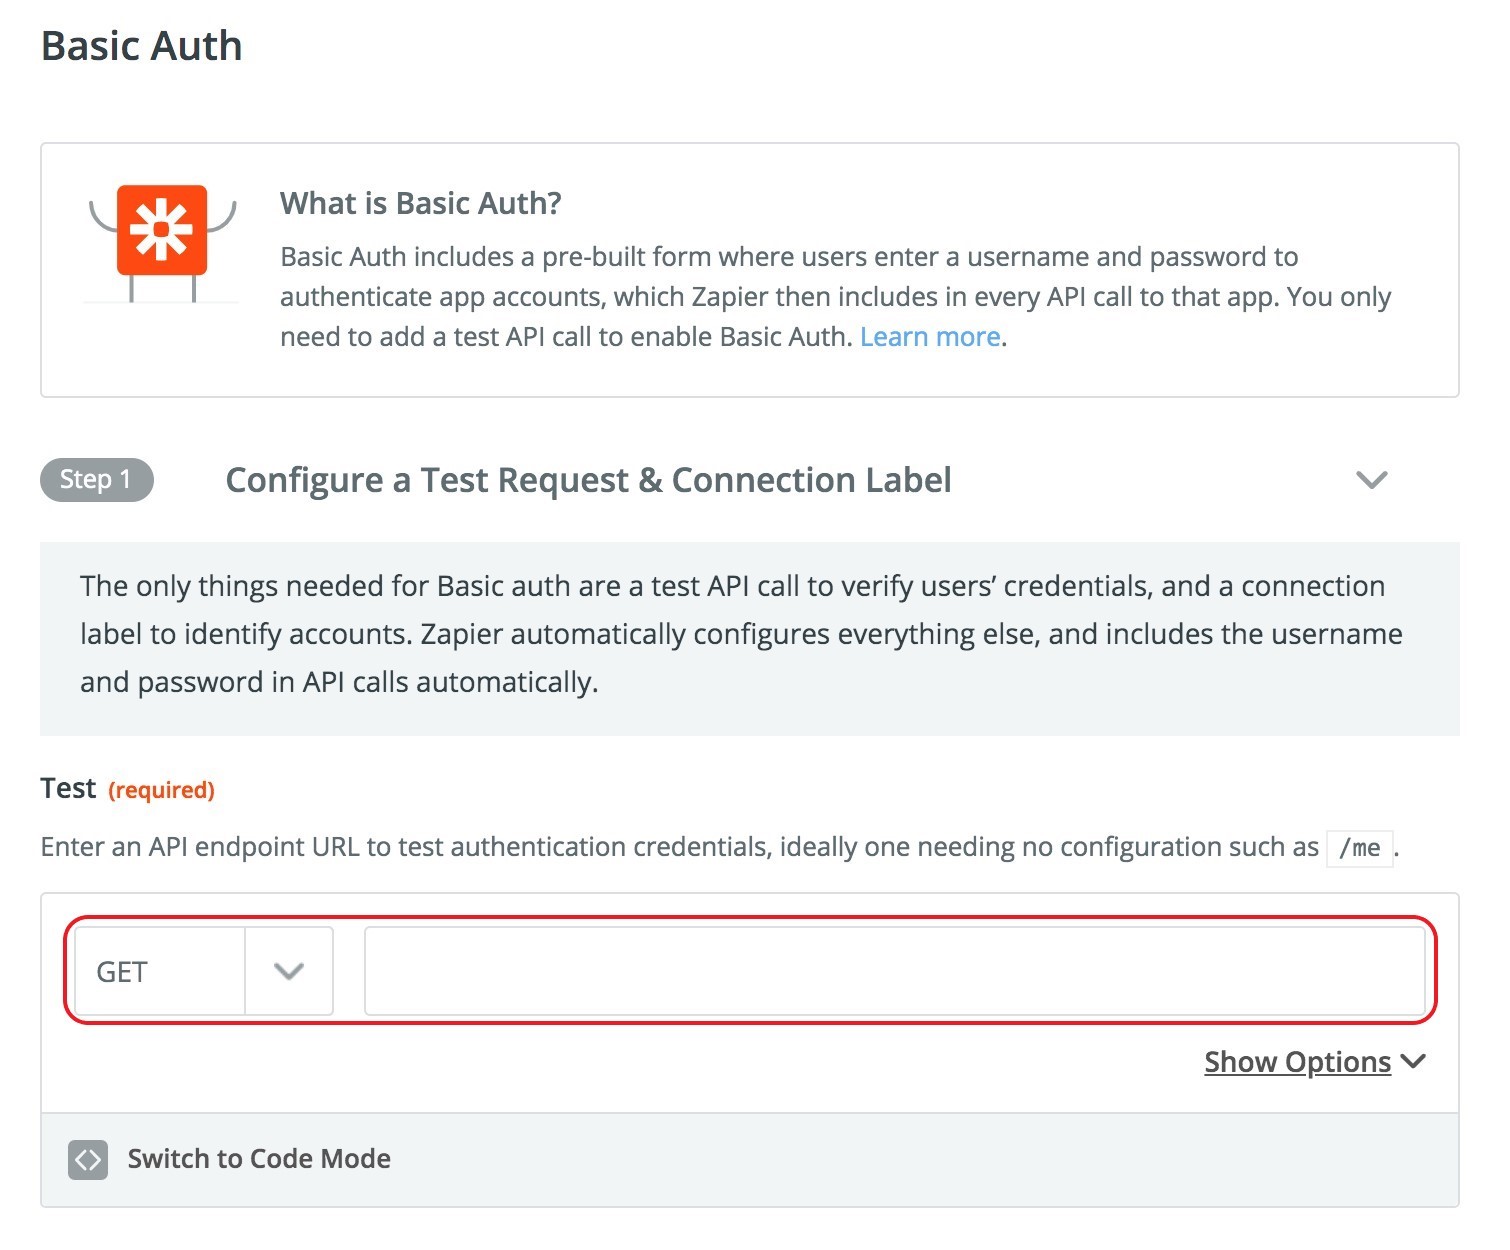
- Next, configure the URL, user, and password and test the access to proceed.
-
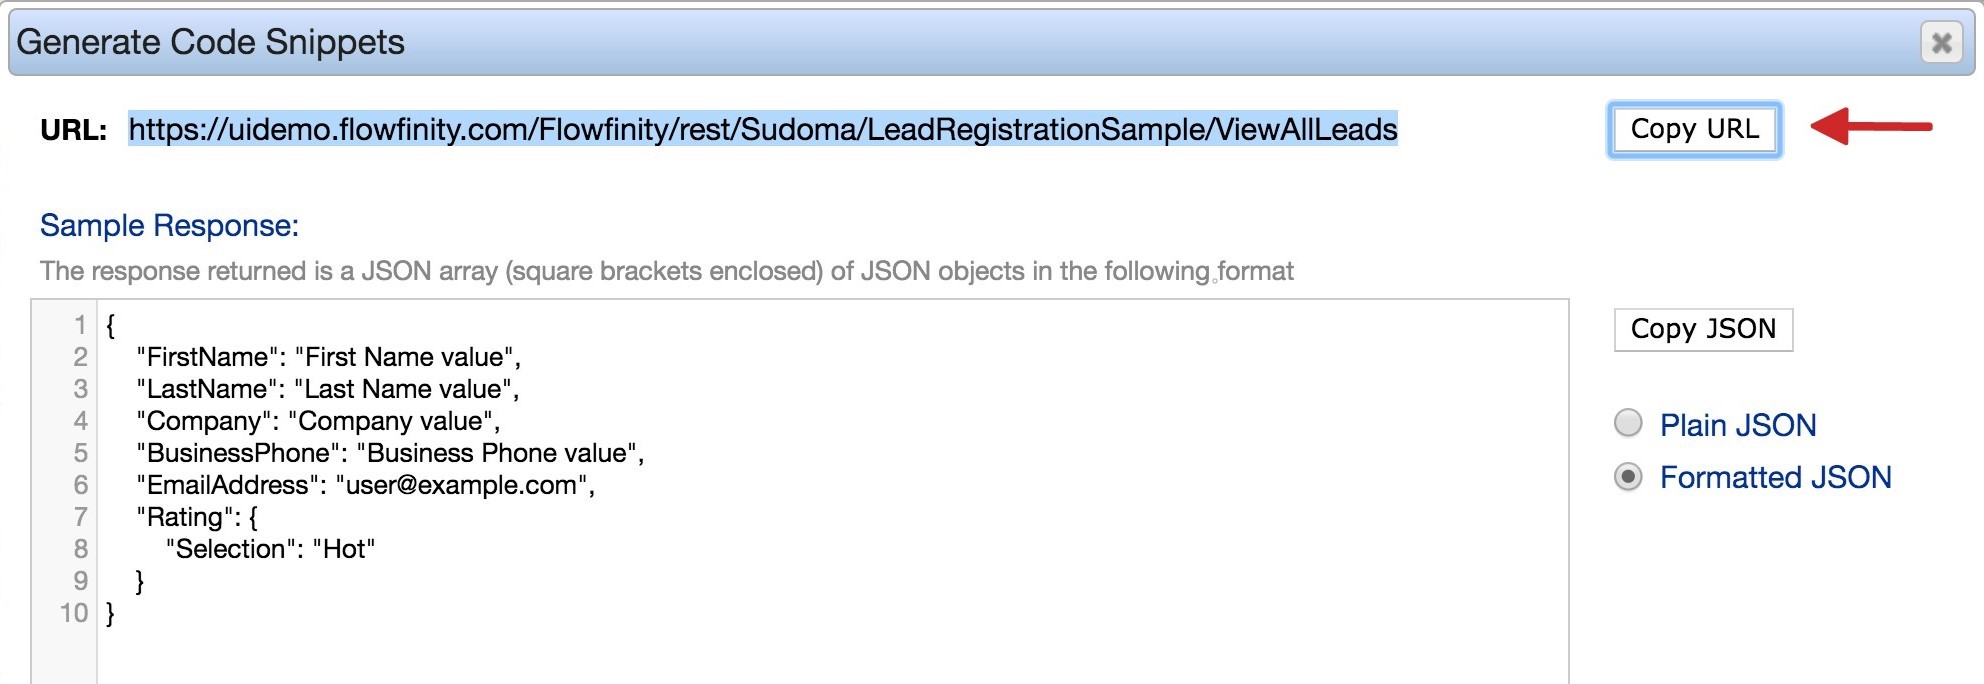
Copy the ViewAllLeads endpoint URL from the Integration tab in Flowfinity Actions. Then paste the URL into the 'Test' field in Zapier.
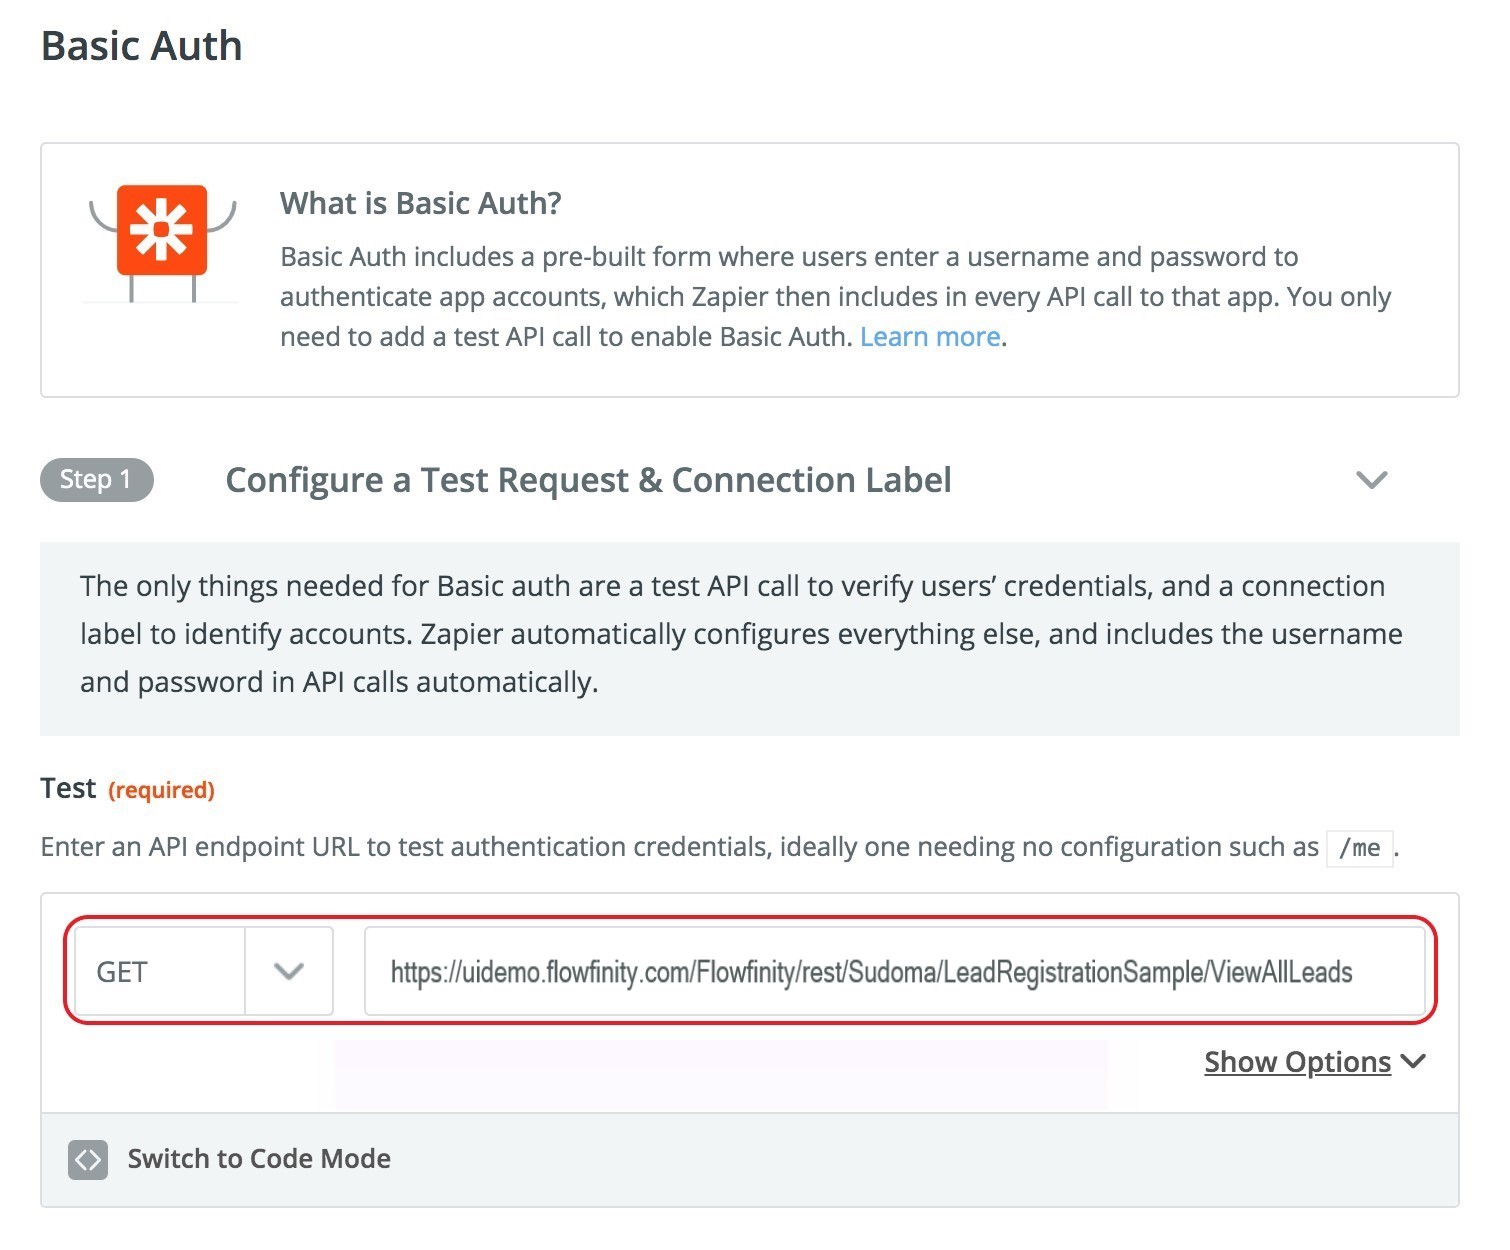
- Specify a title in the Connection Label, for this tutorial enter 'LeadRegistration.' Then click 'Save & Continue.'

- Complete Step 2, 'Test your Authentication,' as follows:
Click 'Connect an Account.' Complete the pop-up form with the login credentials for the Integration Account configured in Flowfinity Actions.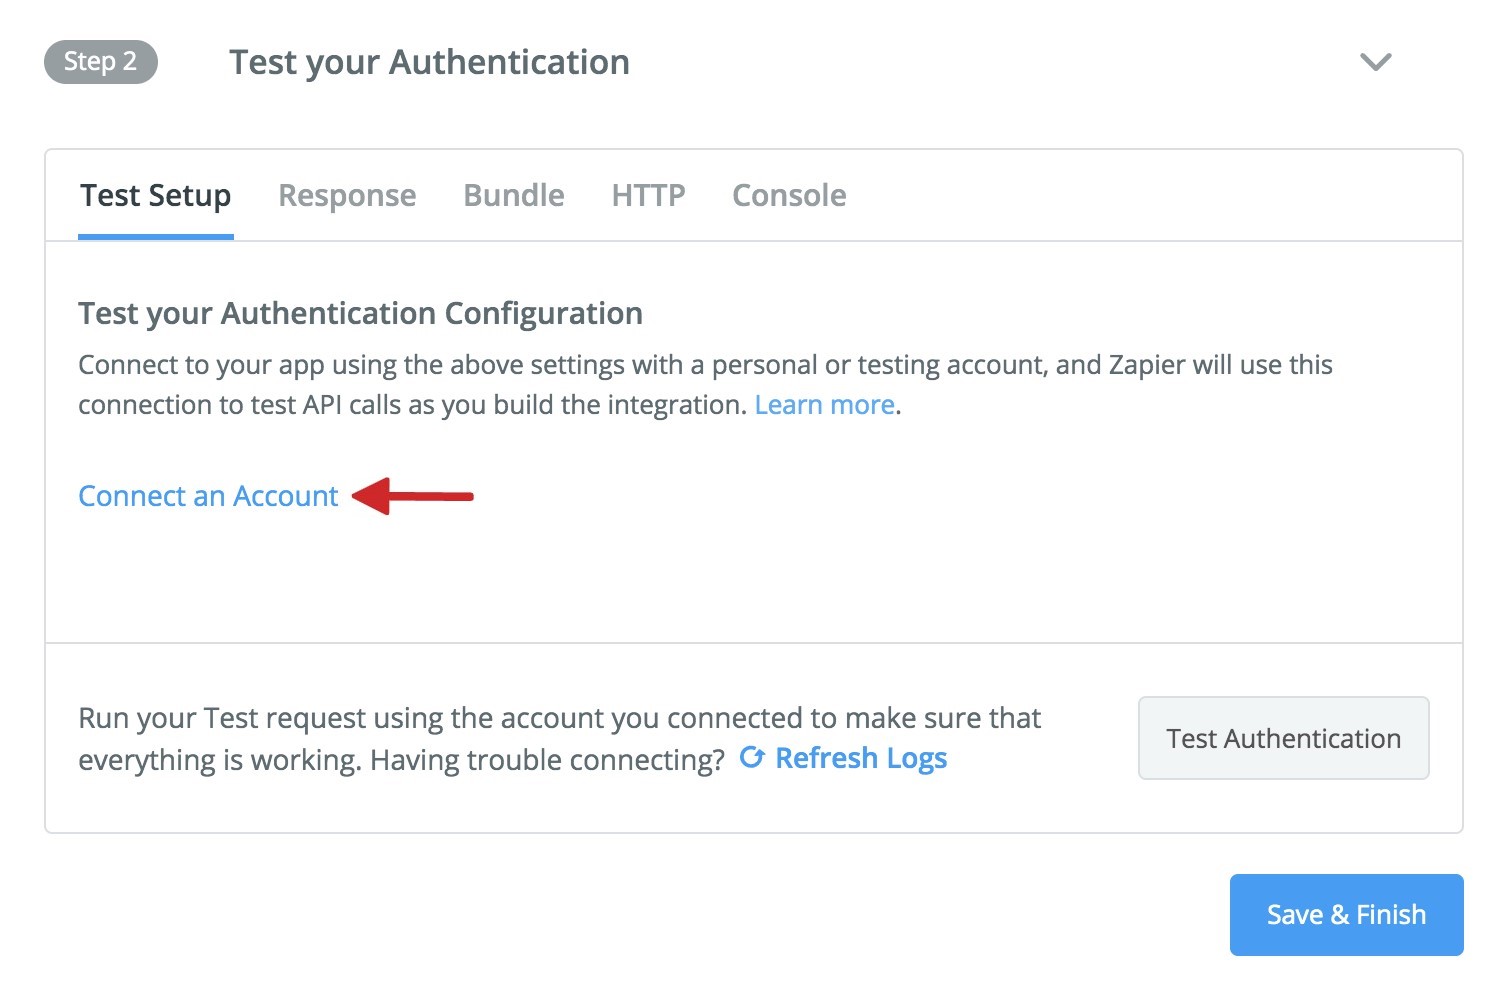
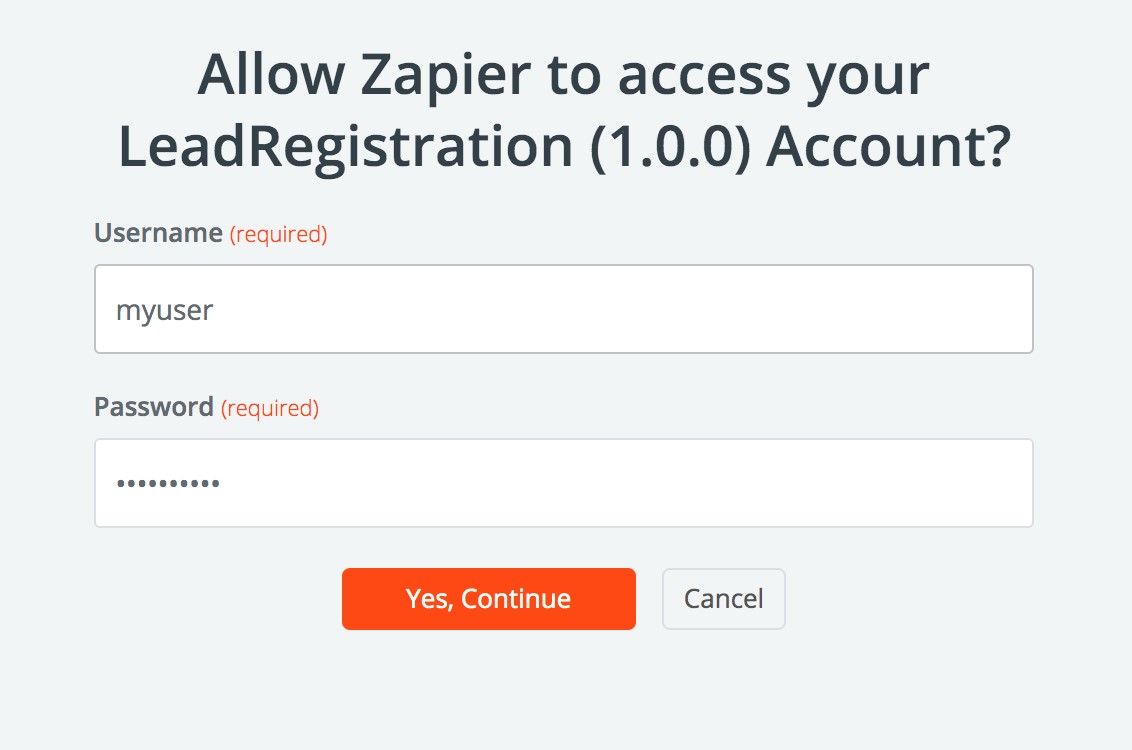
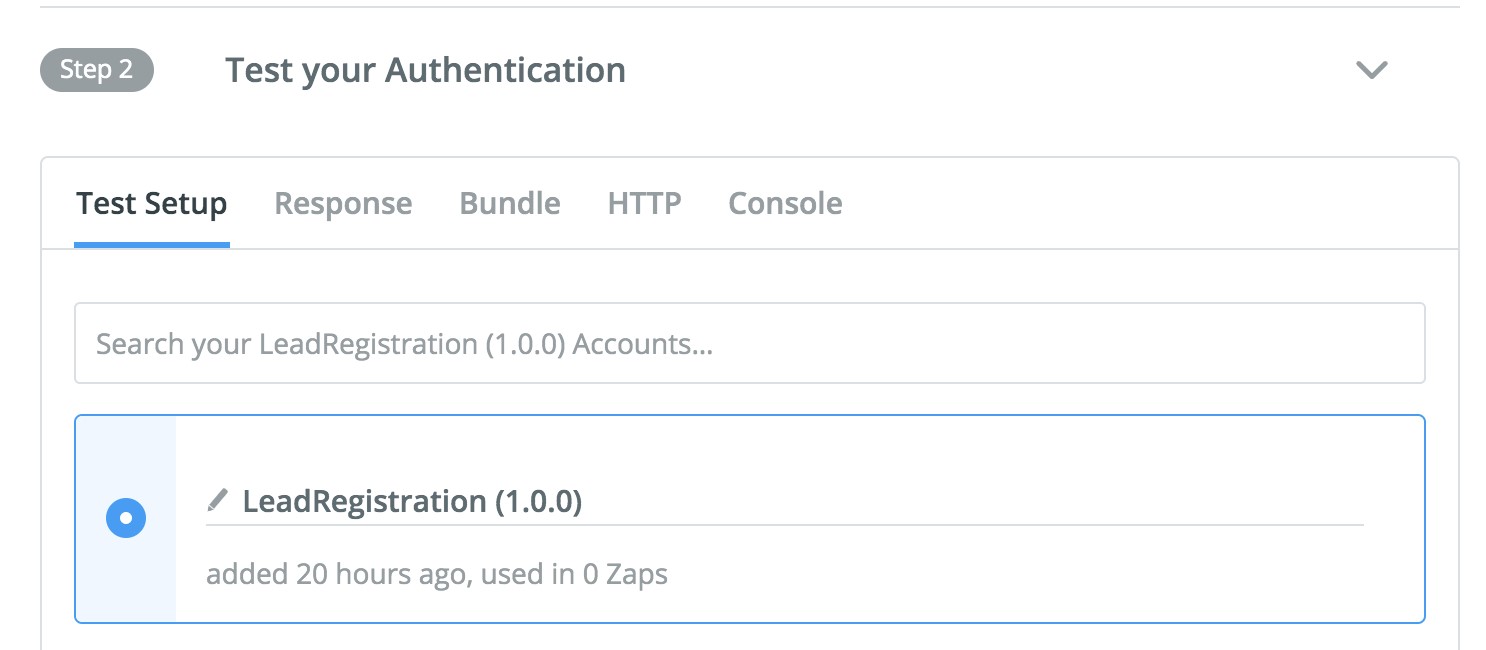
- Once the credentials are verified, the new connection entry will appear in the Test section, indicating that it was successfully registered. Select 'Save and Finish' to proceed.
- Next, you need to create a Trigger. Click 'Create a trigger' and fill in trigger details as follows:
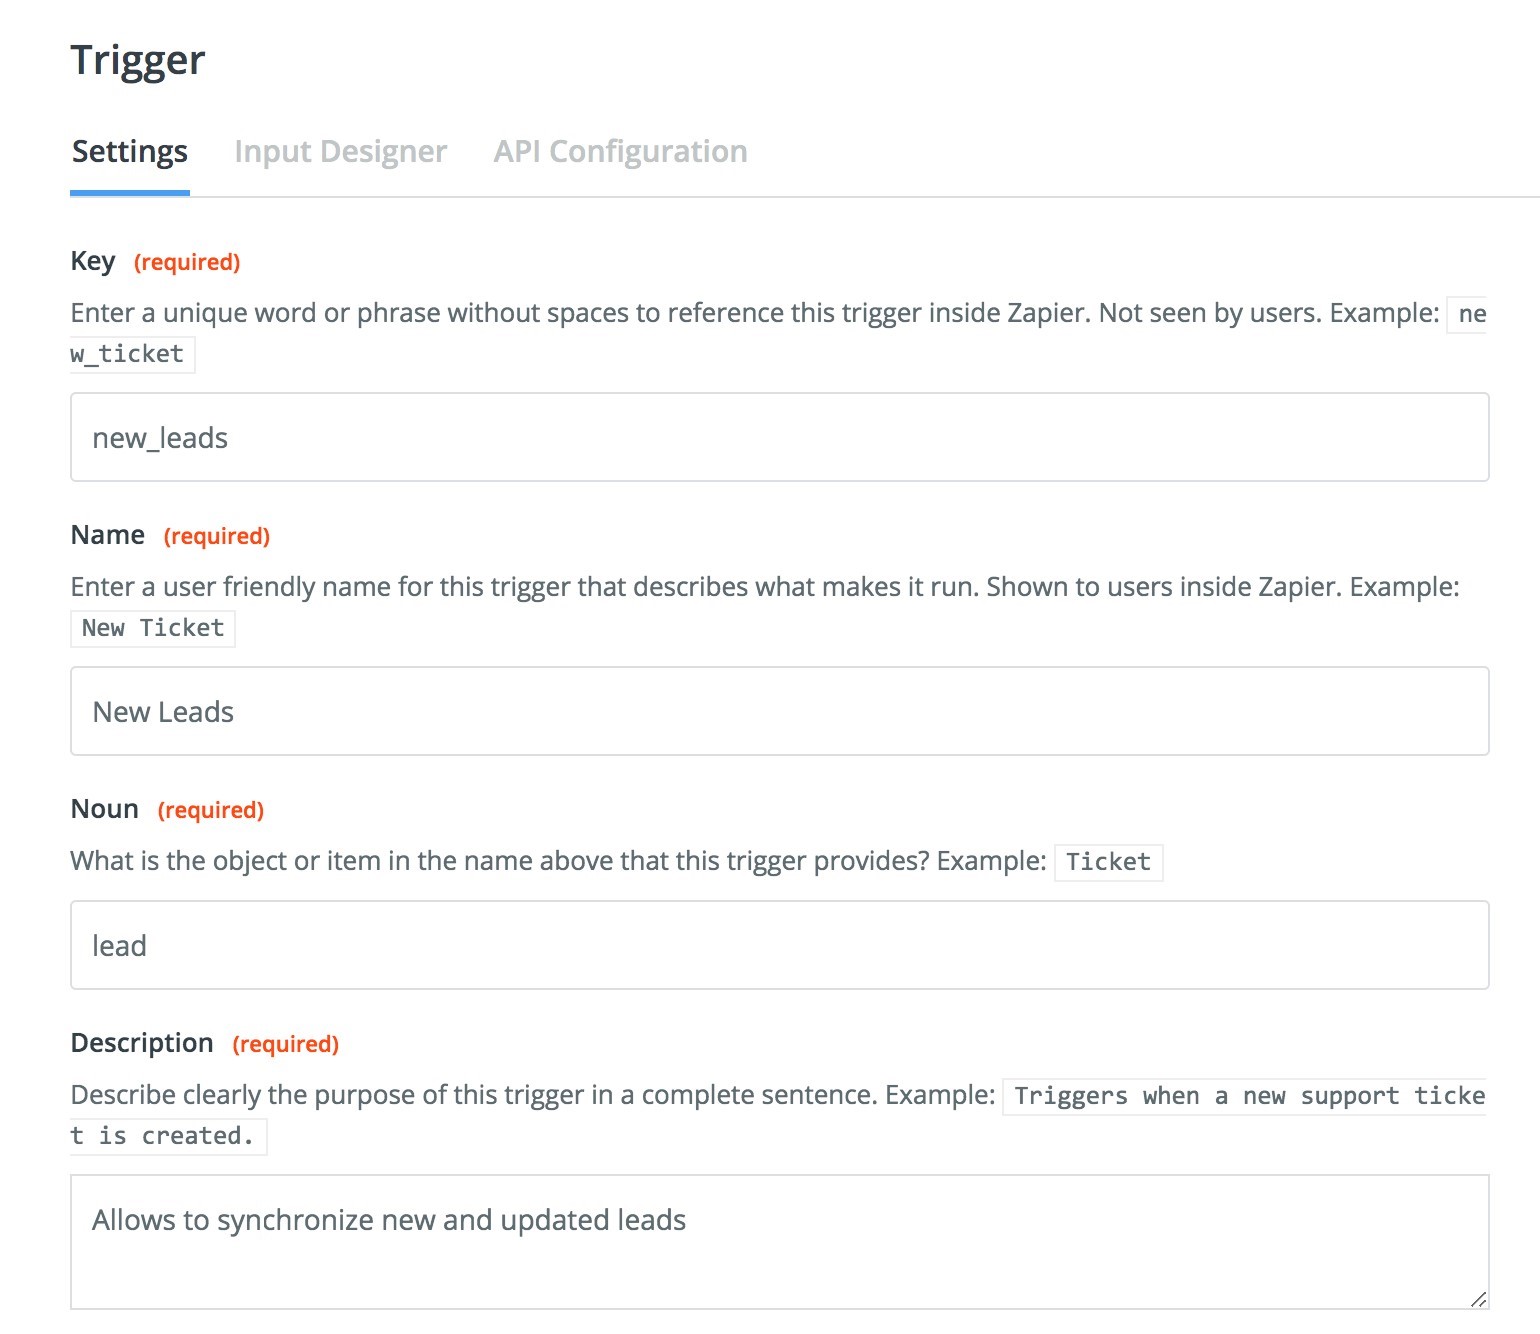
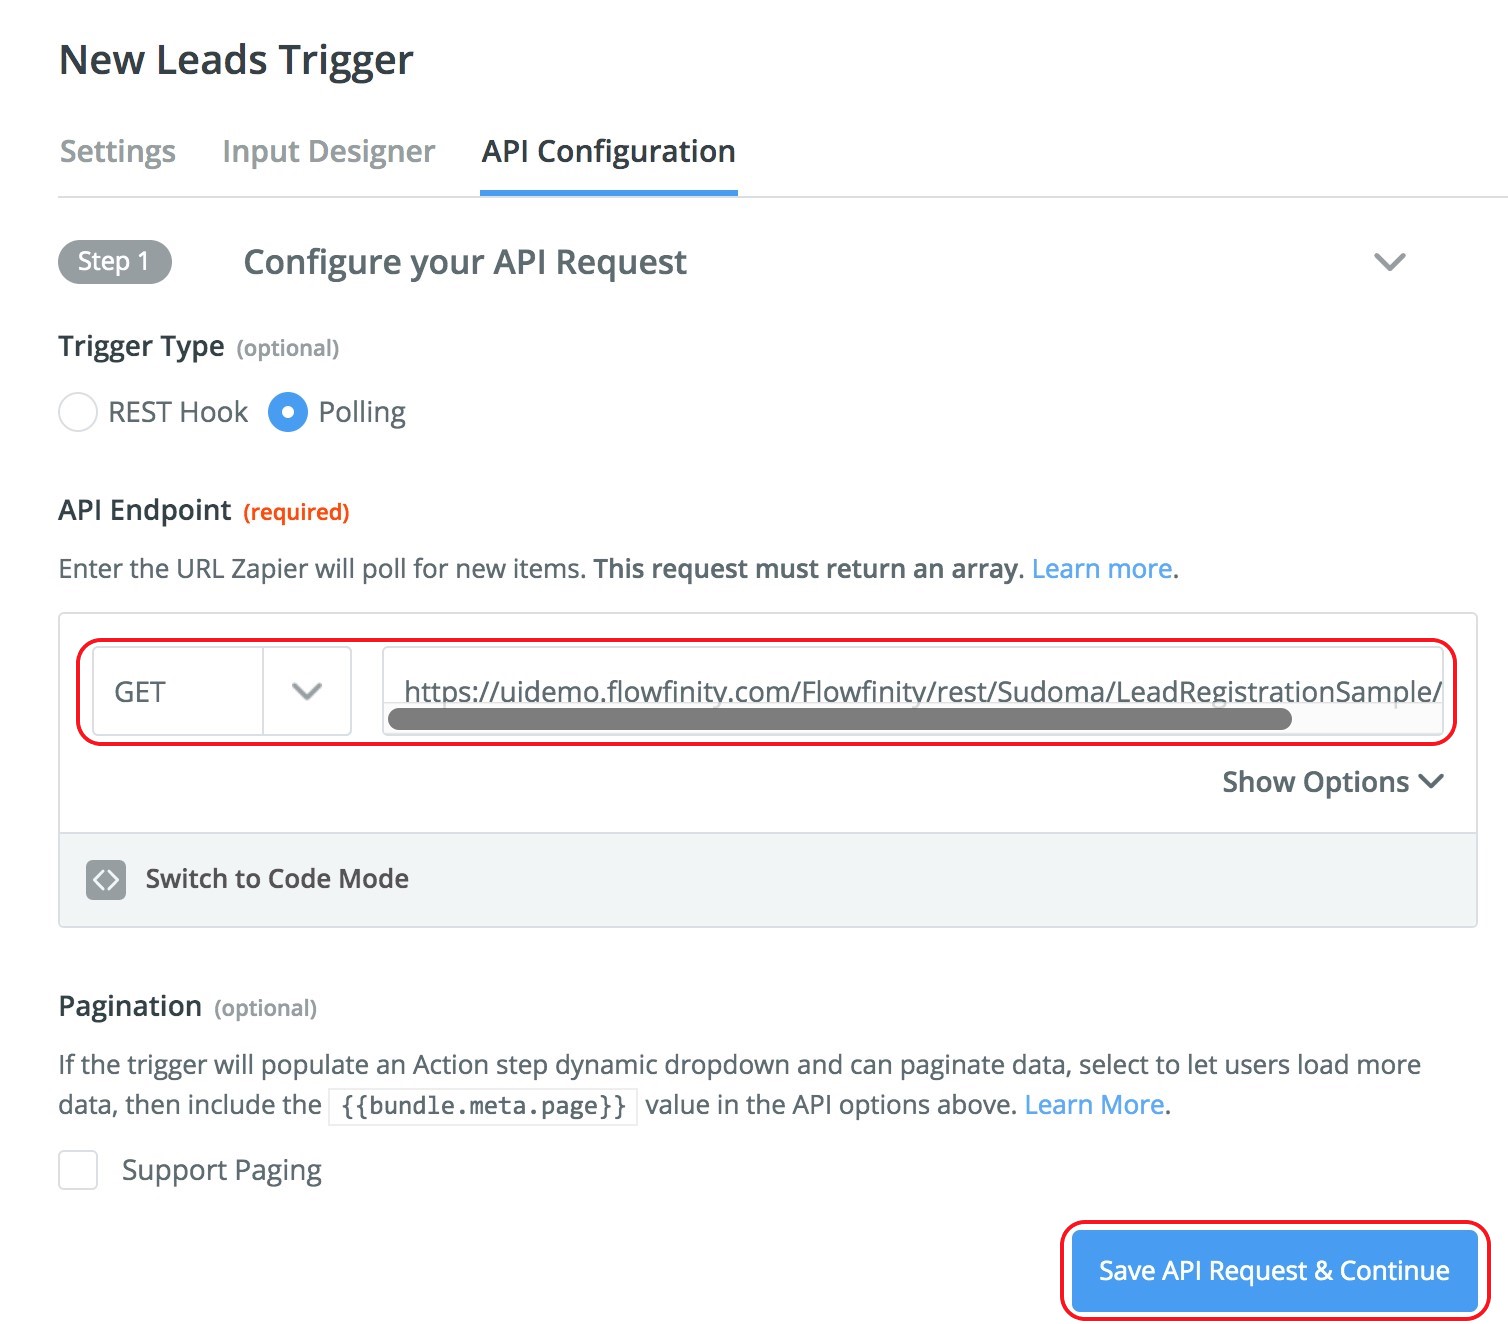
- Save the changes to continue. Leave the 'Input Designer' tab empty and switch to 'API Configuration' tab.
- In the API Configuration tab, specify the URL for synchronization. For this tutorial, we just will use the standard View All Records view that returns all records in the app. Copy the URL from the Details section of the View located in the Configure > Integration tabs.
- Paste the URL into the Endpoint URL and leave 'Support Paging' unchecked. Click 'Save API Request & Continue.'
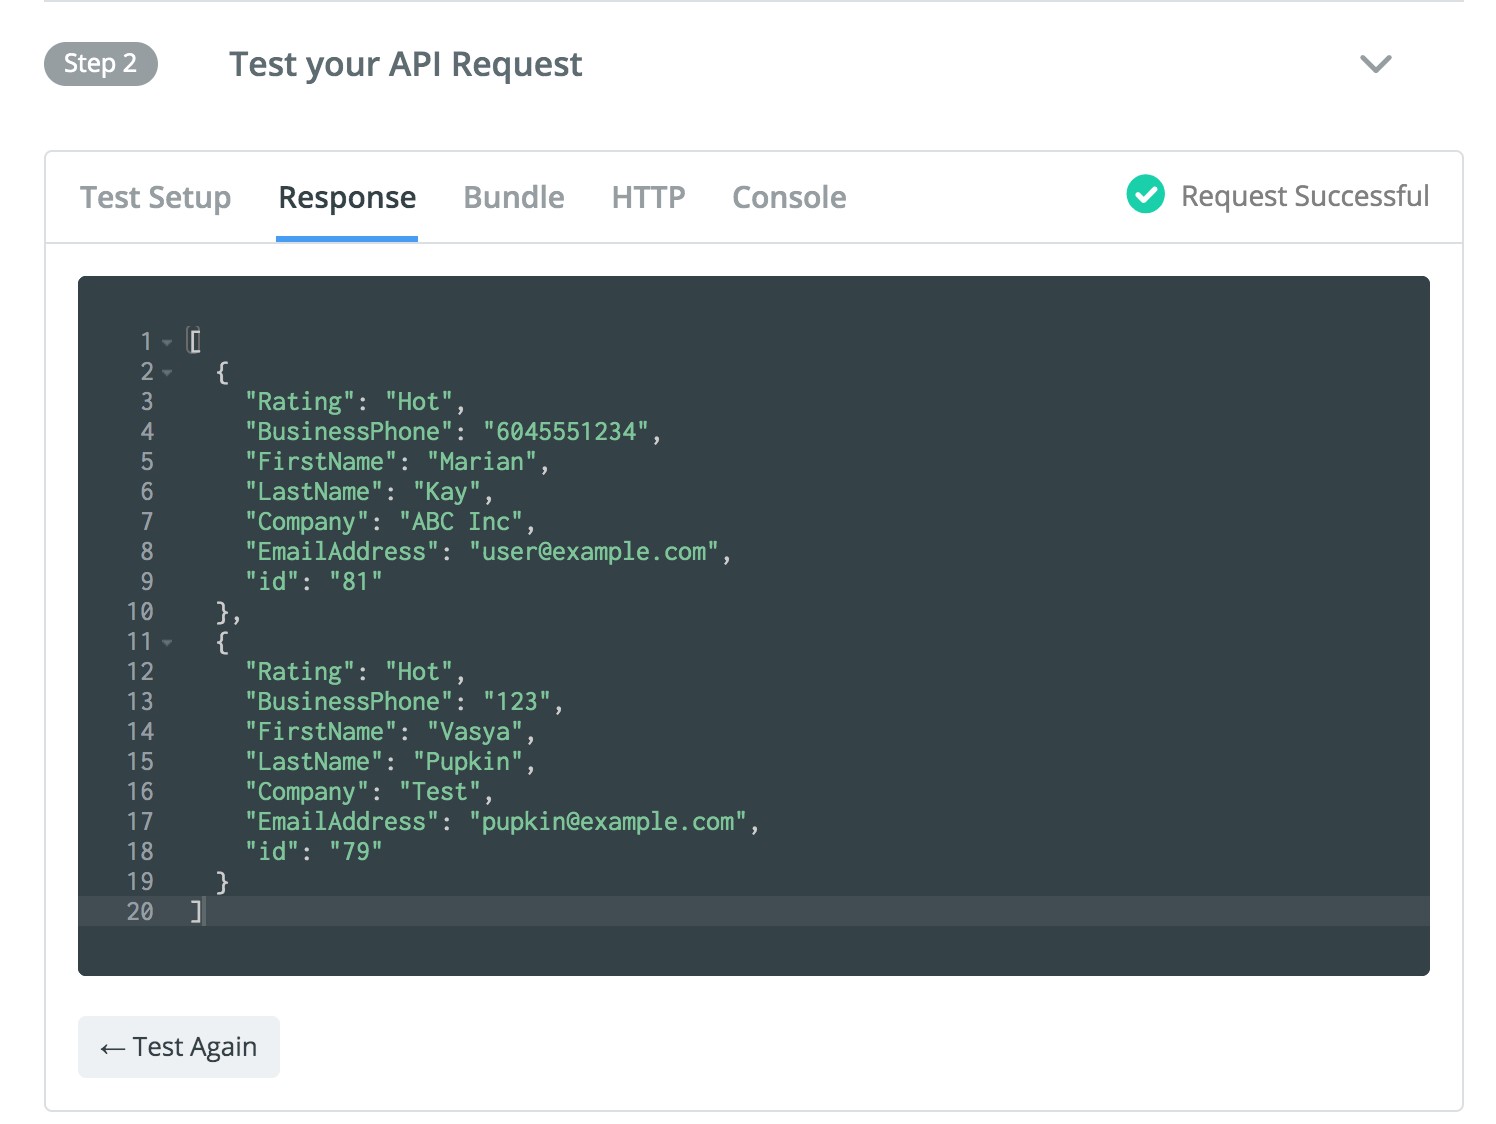
- The next step is to test whether the request is operational, click the 'Test Request' button. If the request is operational, the output should resemble the following:

- The final step is to configure the output fields that the trigger will return upon synchronization.
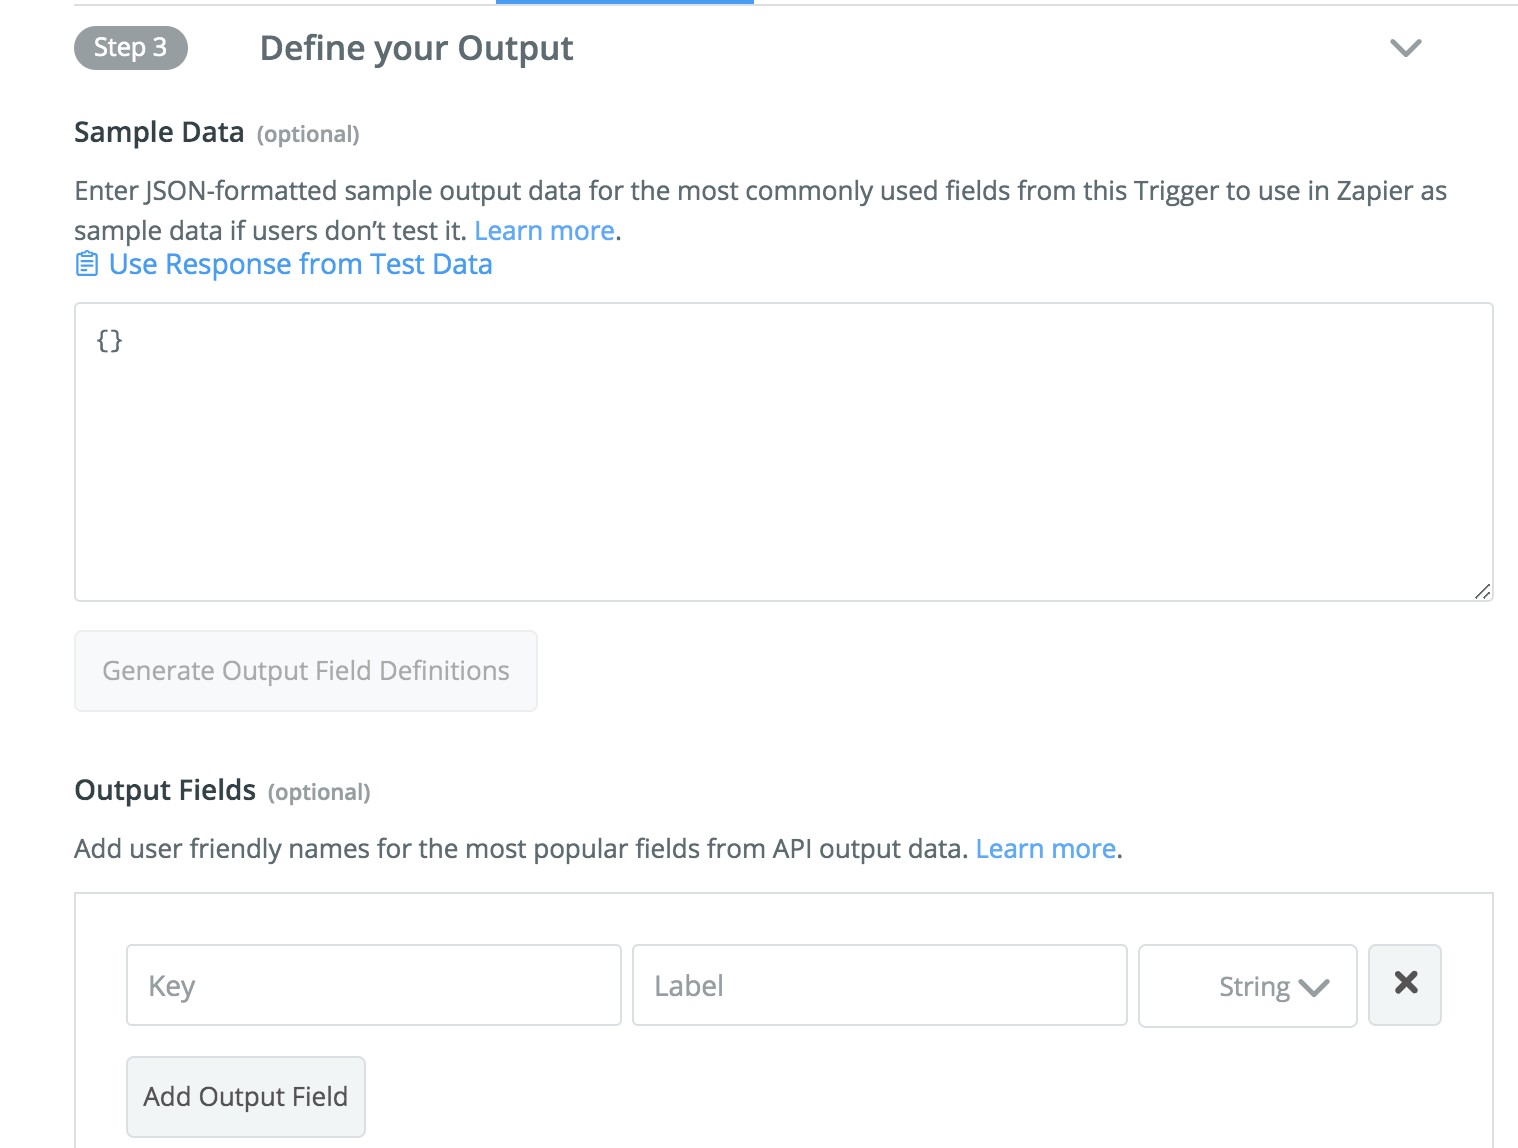
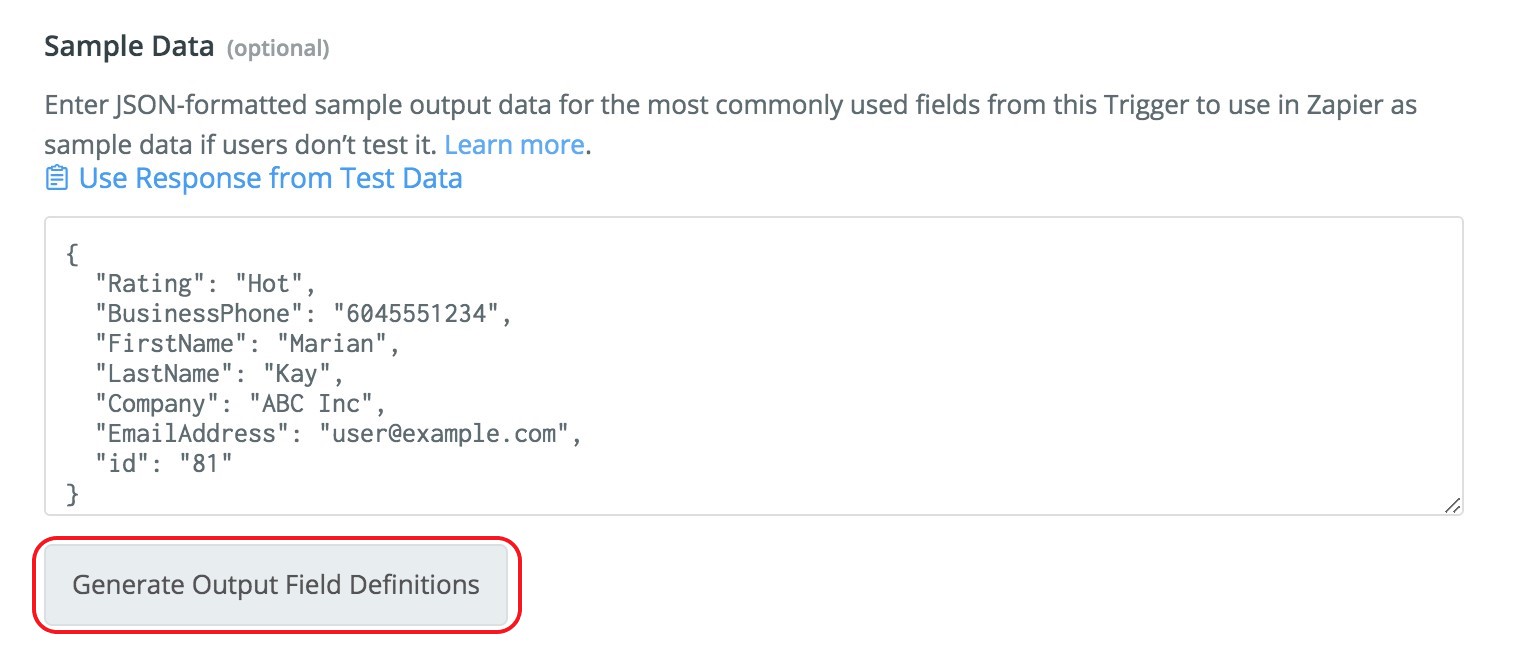
- Click the 'Use Response from Test Data' link to fill in the sample for the return JSON output. Then click 'Generate Output Field Definitions' to fill in the 'Output Fields.'
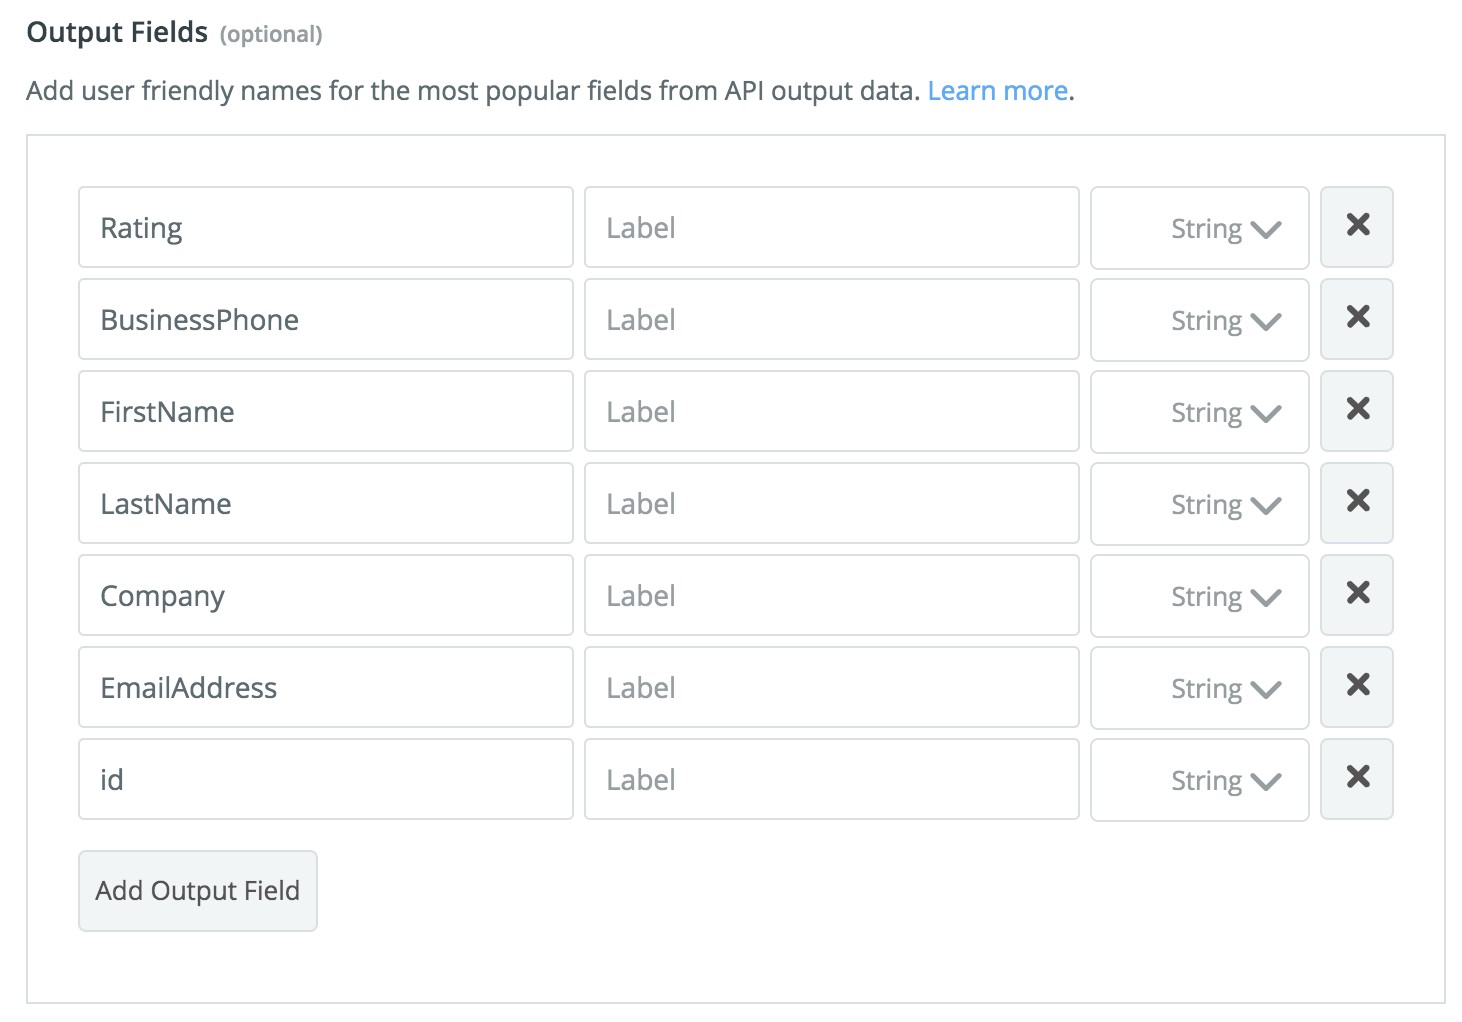
- Click 'Save Output and Finish' to save the changes. At this point the Integration is ready to be used in Zaps.
- Open the main Zapier app dashboard, located at https://zapier.com/app/dashboard, and select 'Make a Zap' start.
Note: Ensure you are on the Zapier Dashboard and not the Zapier Platform 'Developer' site.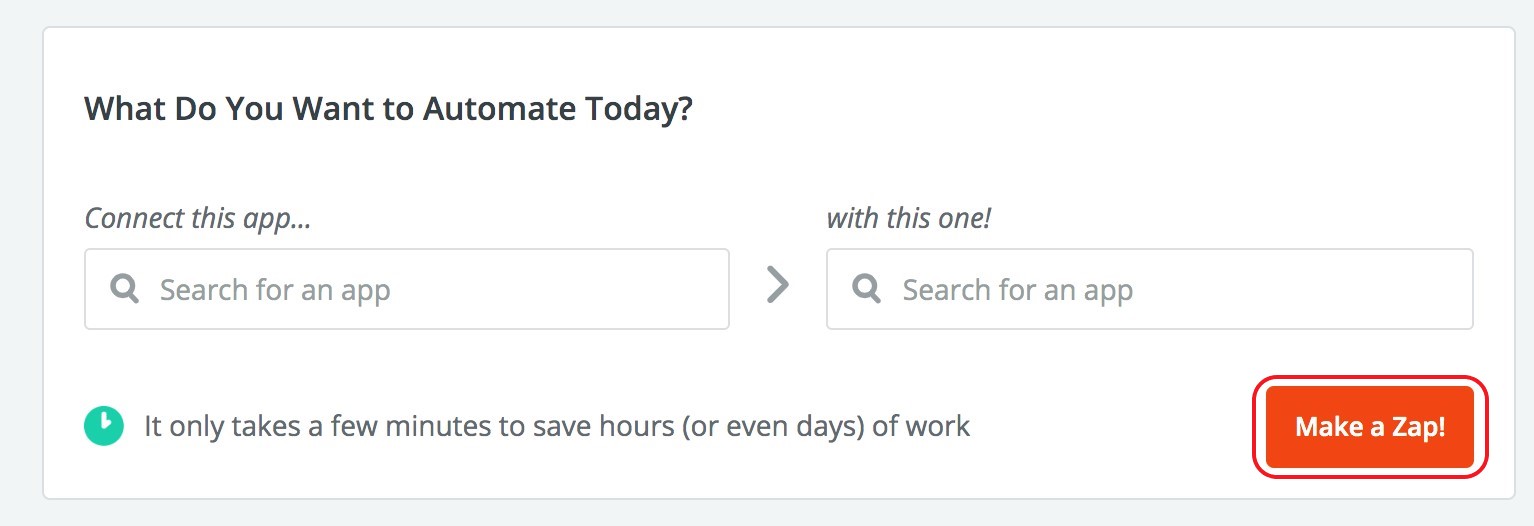
- In the new Zap screen, give the Zap a title and select the Integration that you configured in the 'Your apps' section.
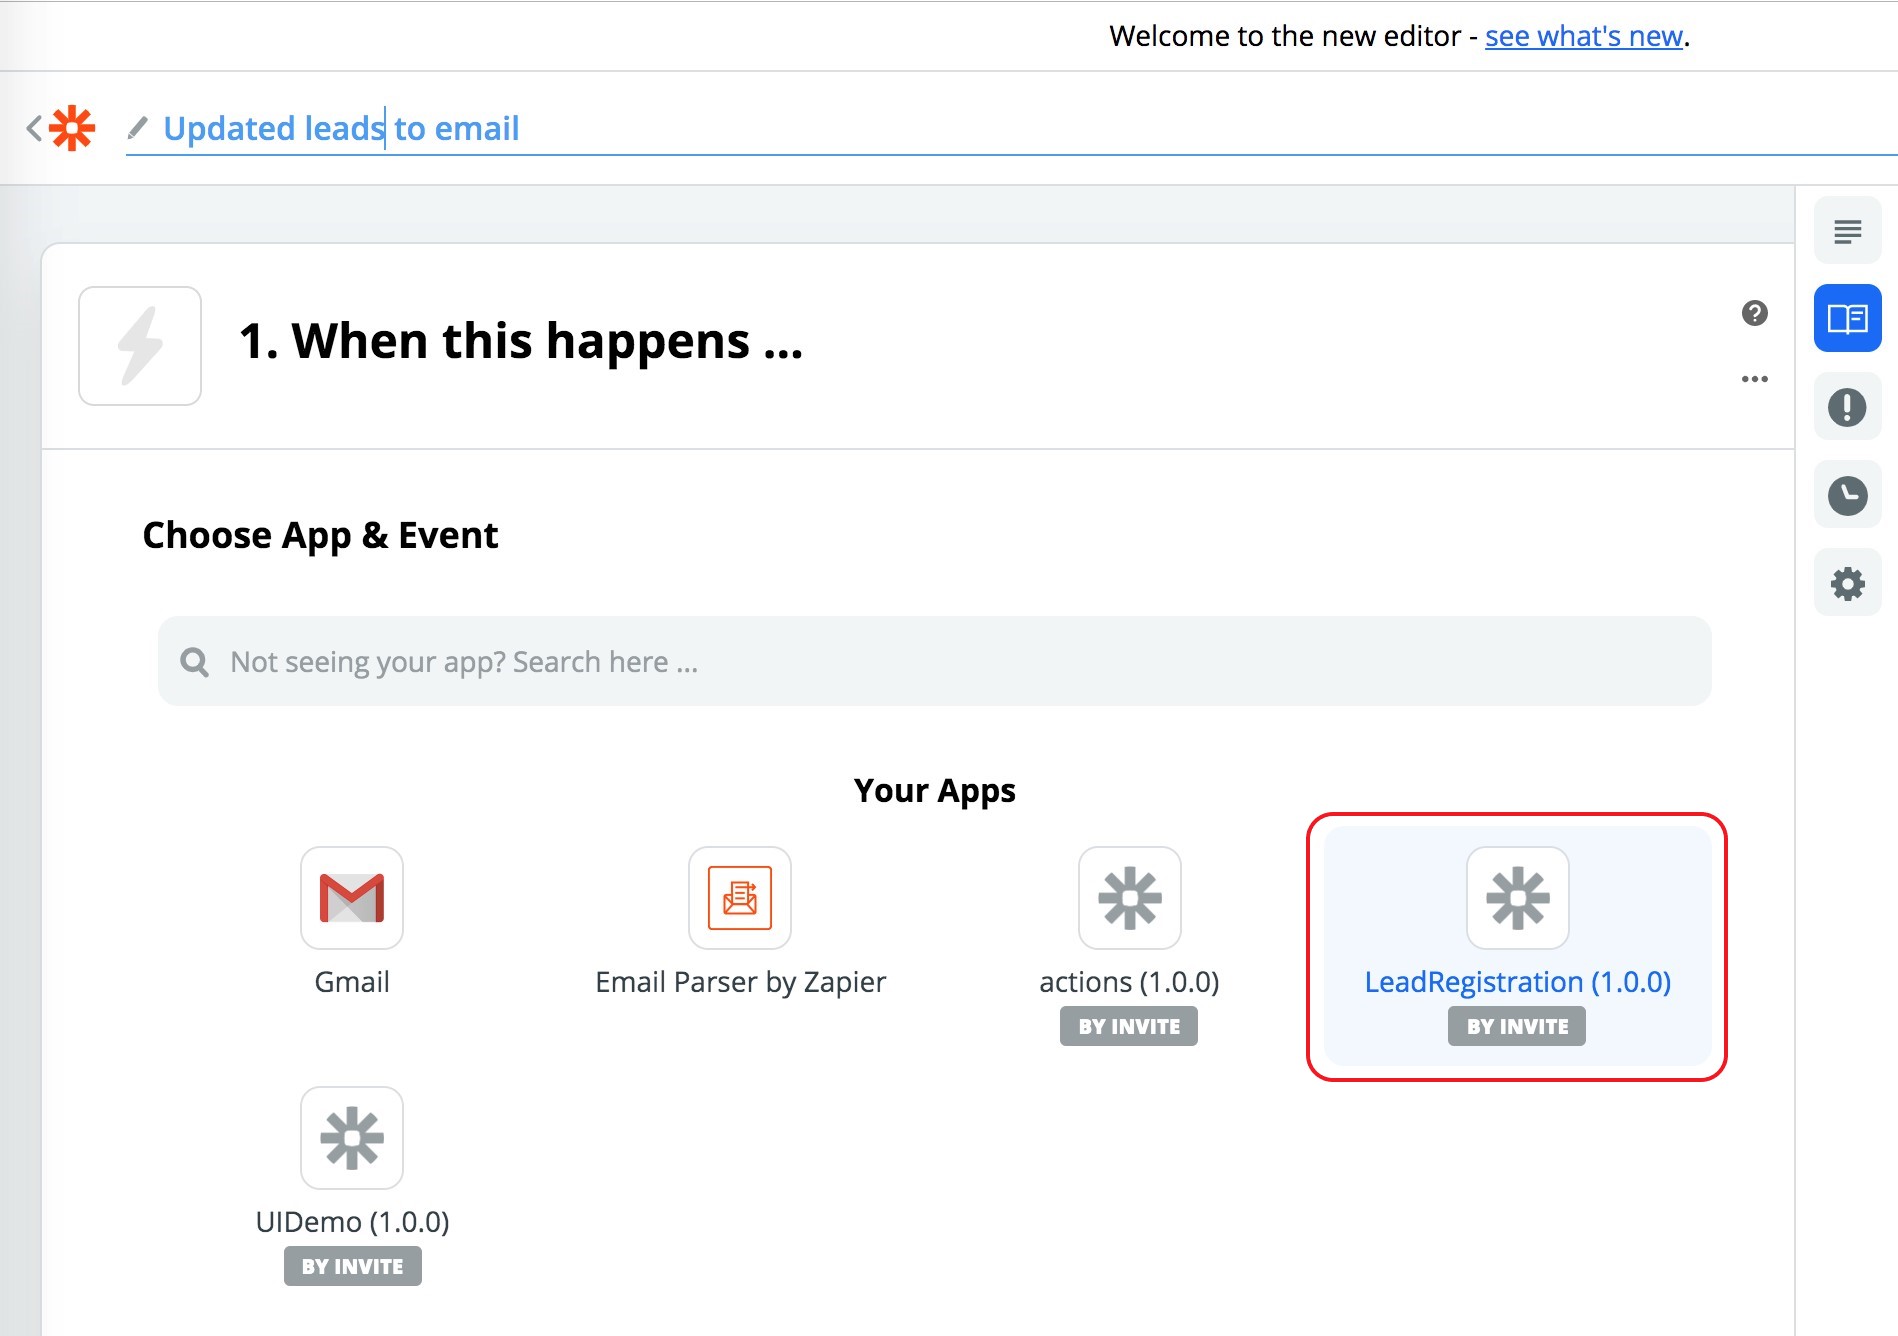
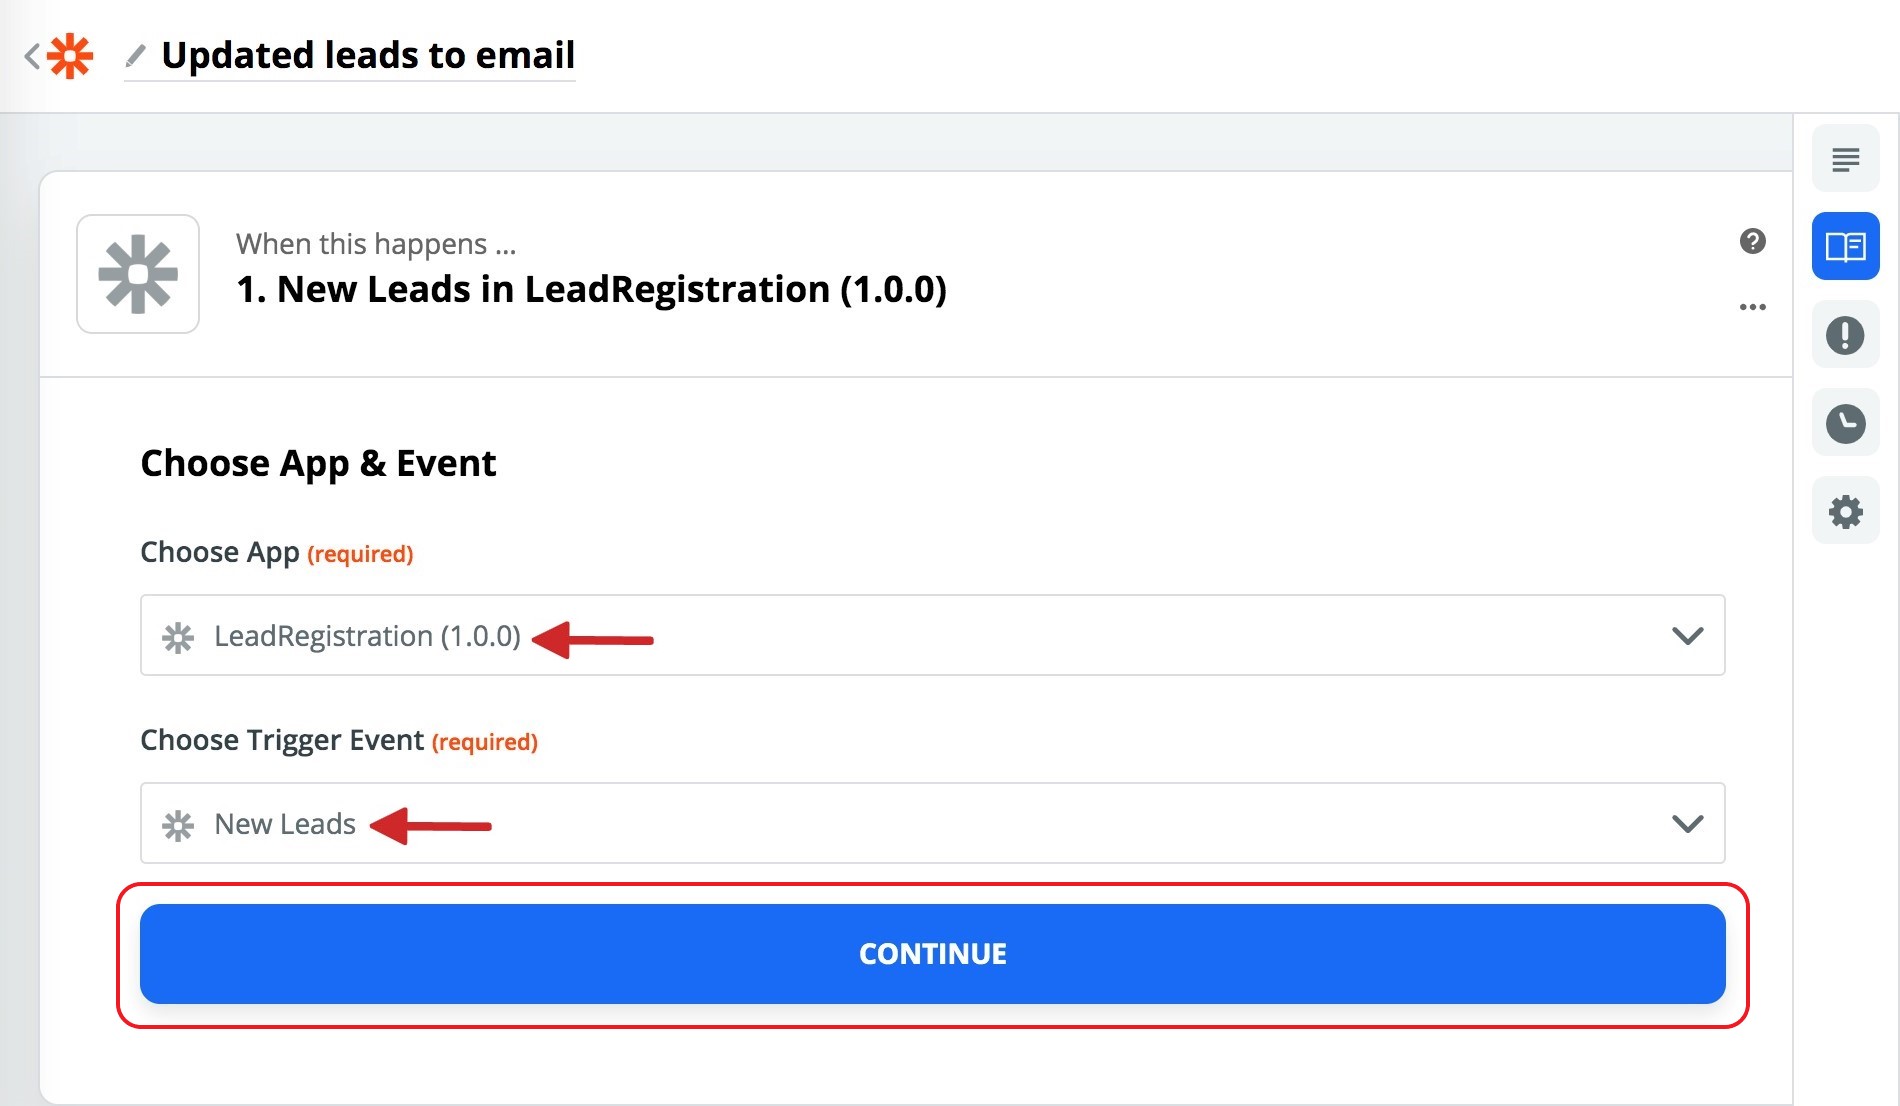
- Next, choose the App and Trigger and select 'Continue.'
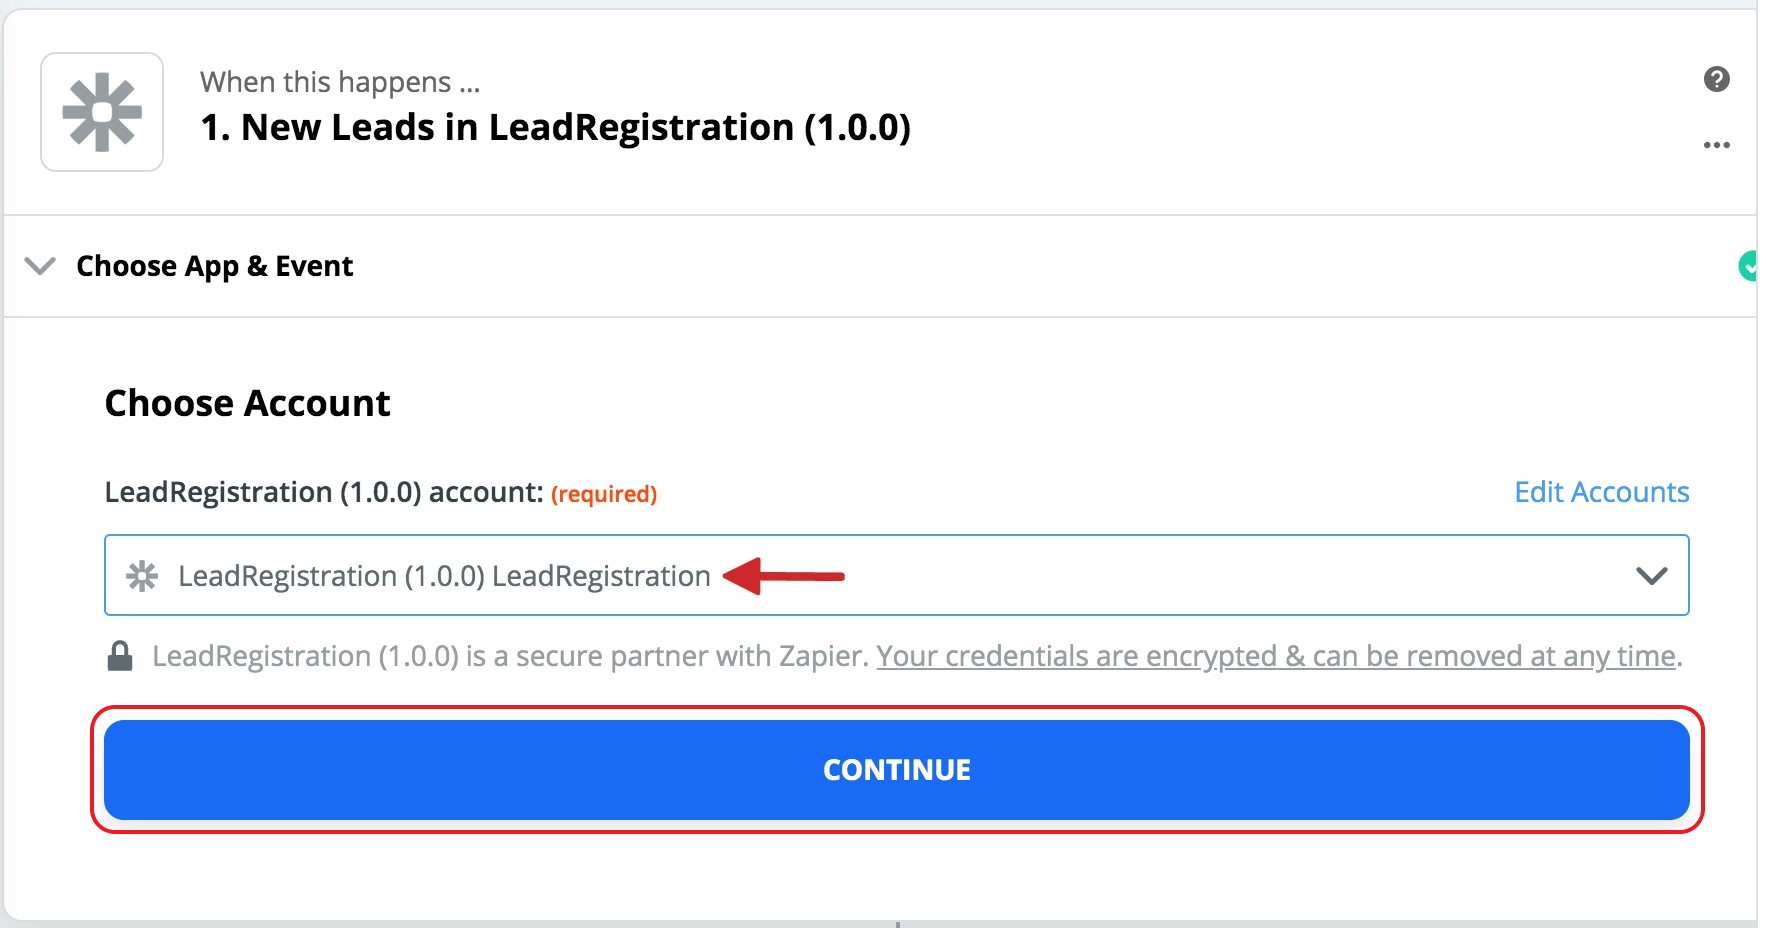
- If you have more than one account, you may be prompted to choose the account. Select the correct account and click 'Continue.'
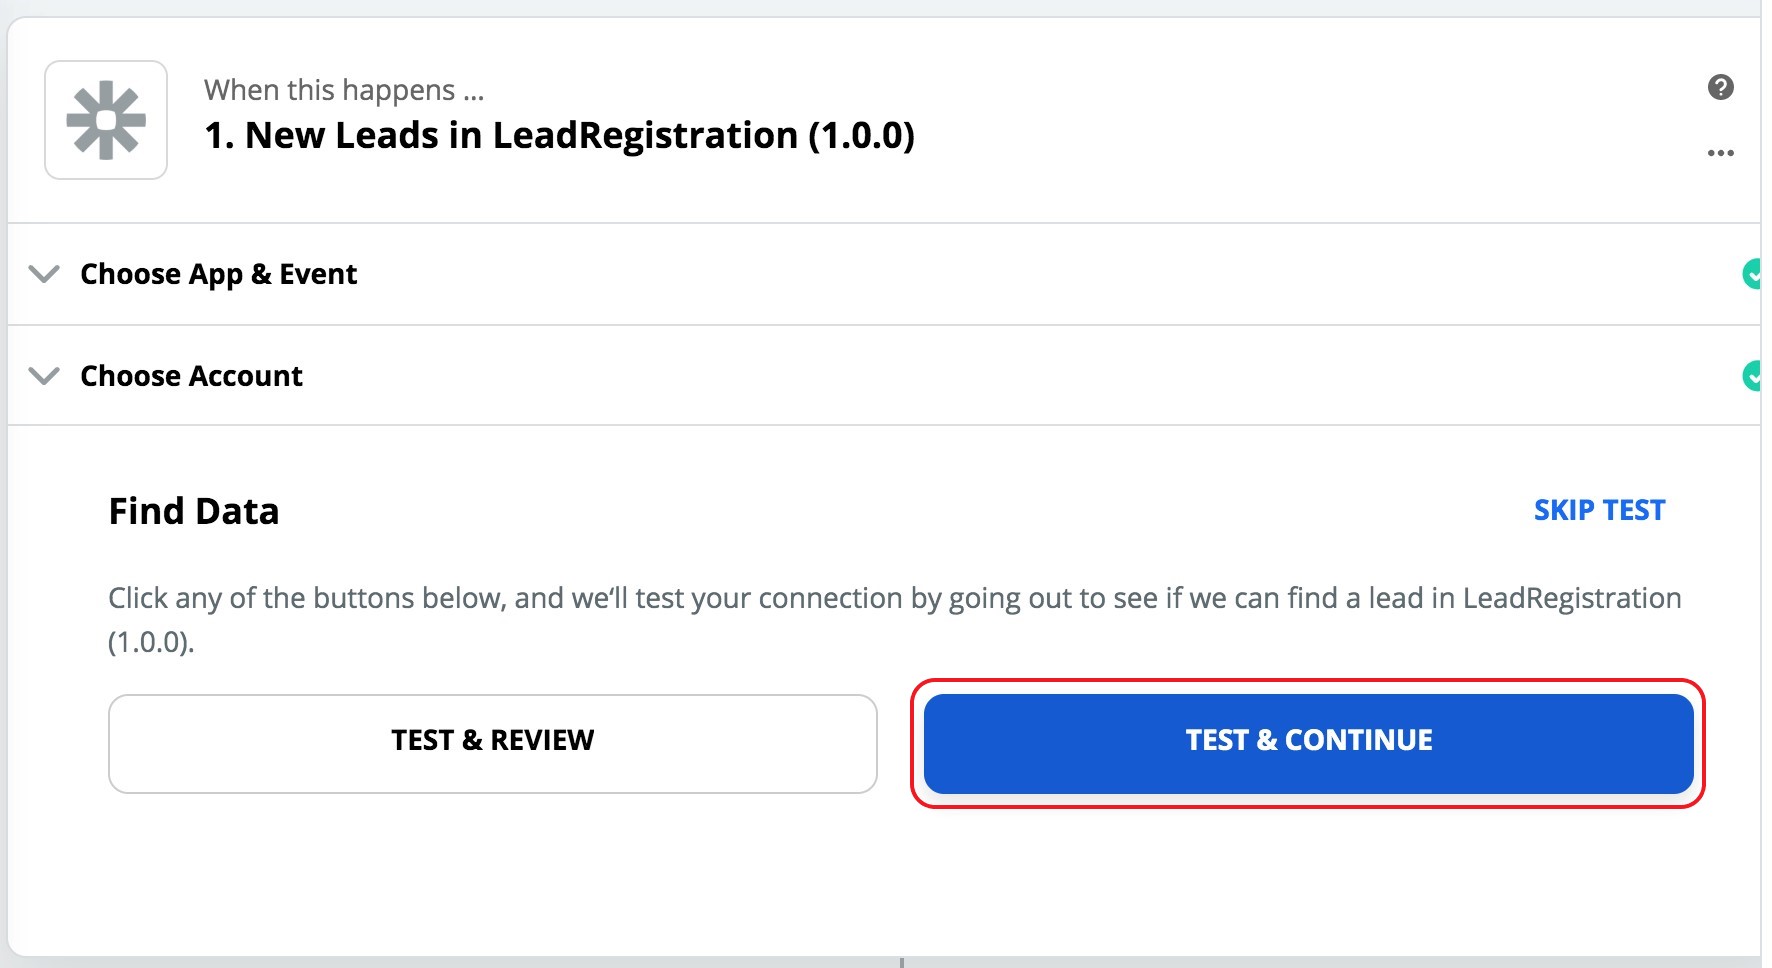
- Finally, click 'Test & Continue' to test the connection.
- If the test is successful, it's necessary to specify what to do with the records that were synchronized.
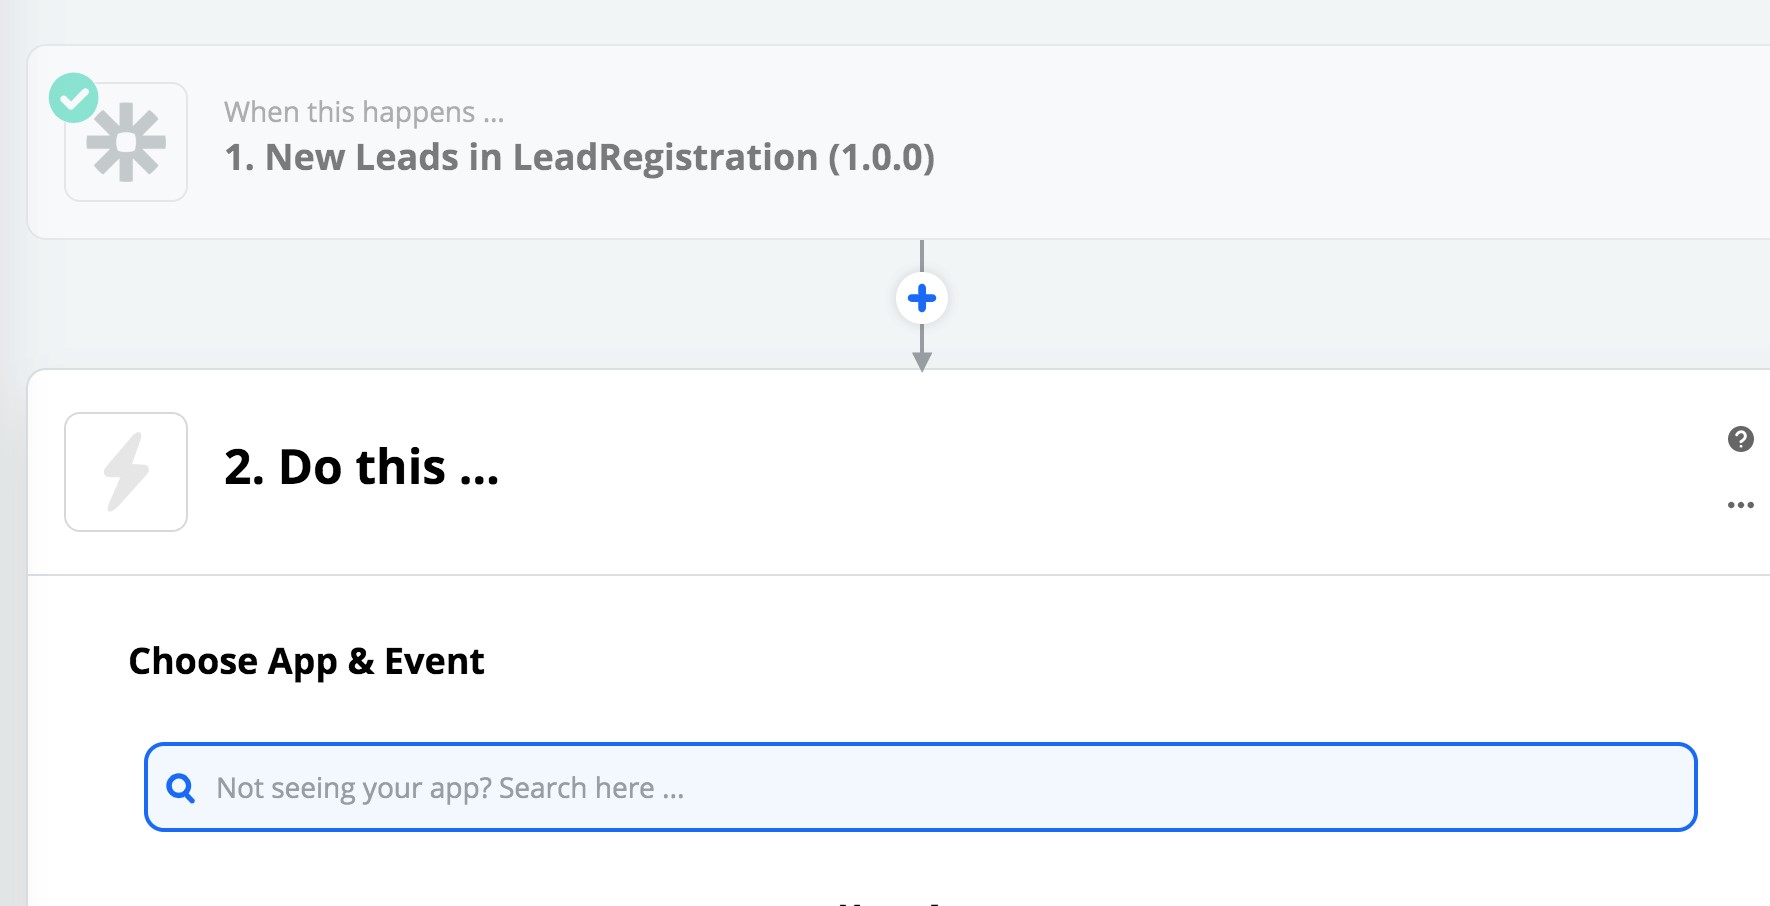
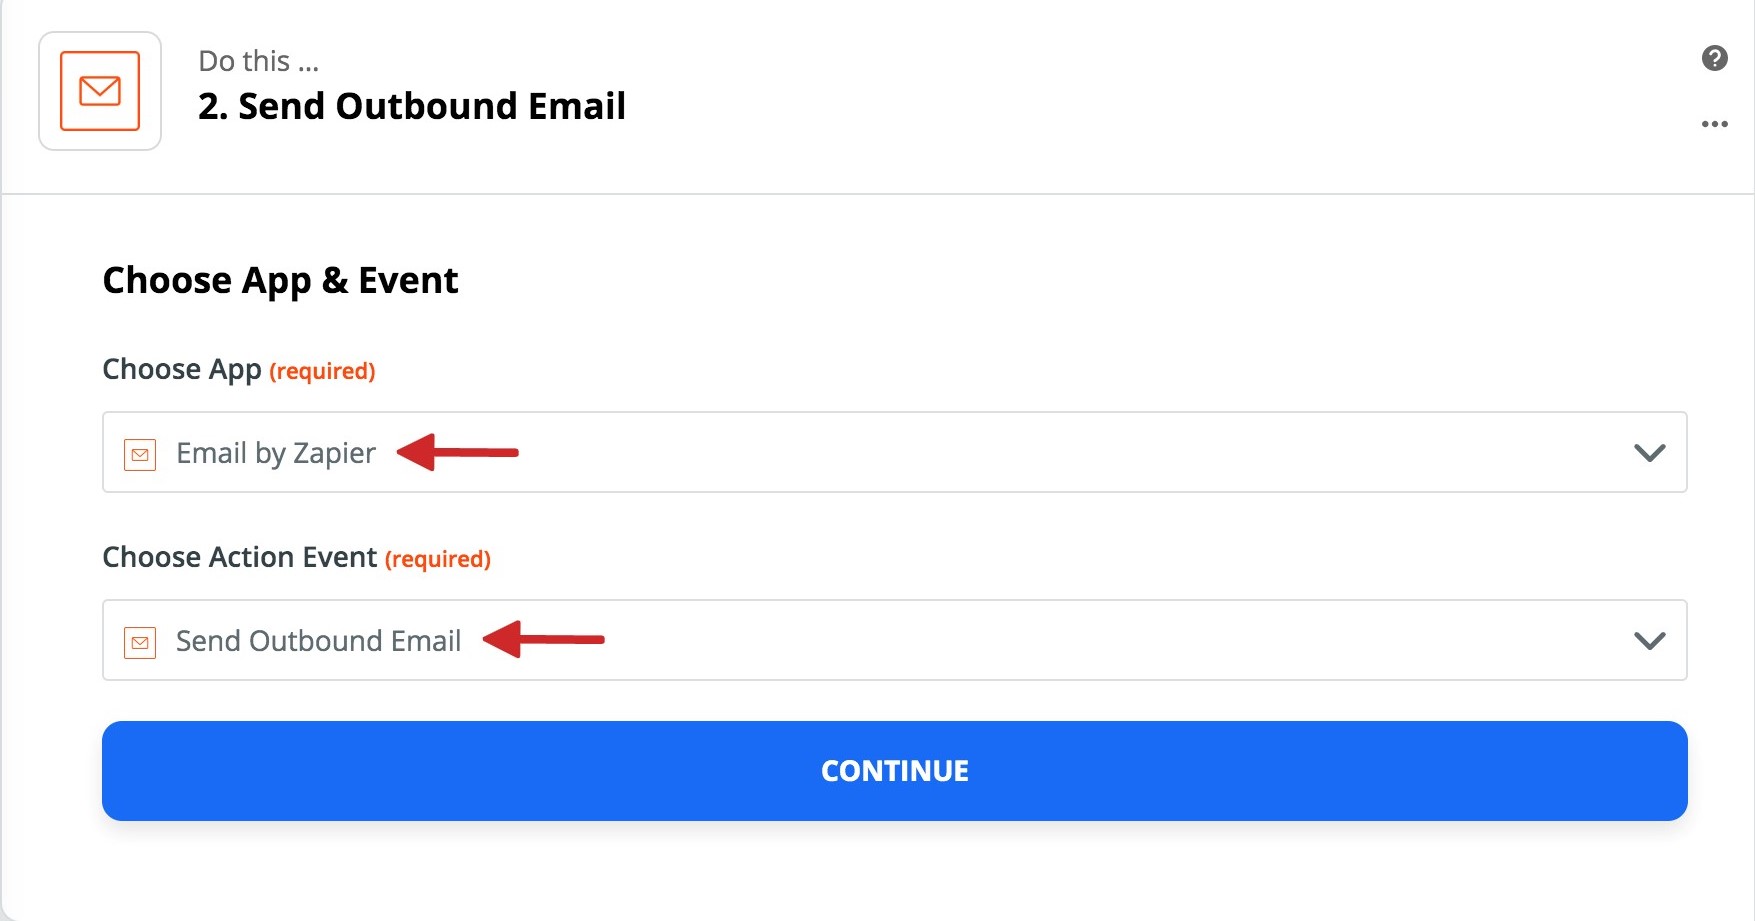
- For this tutorial, configure an outbound email to the user with the details of each synchronized record. Select the 'Email by Zapier' integration and complete the 'App & Event' fields as follows:
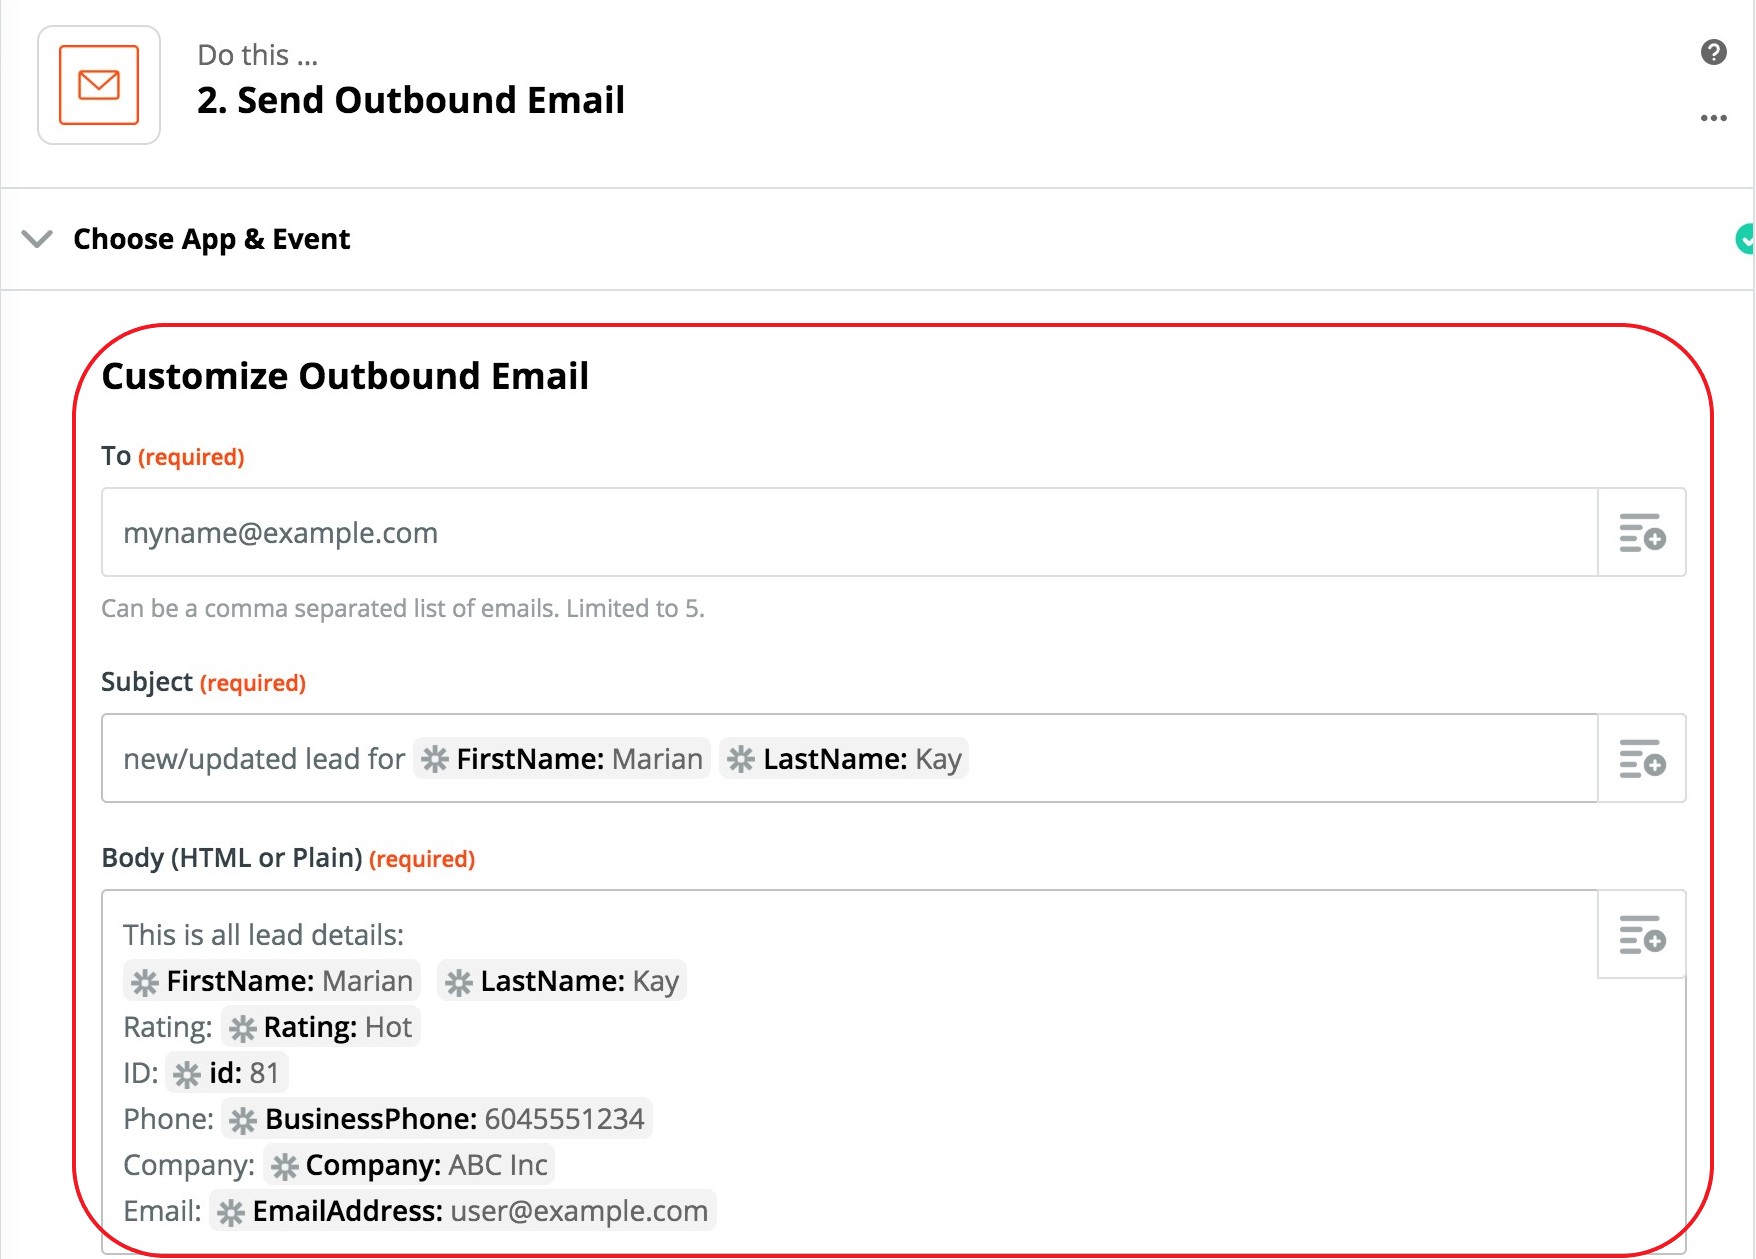
- Next, customize the email. Complete the 'To' field with the appropriate email address. Then, configure the subject line as the name of the lead and the full lead details in the body of the email.
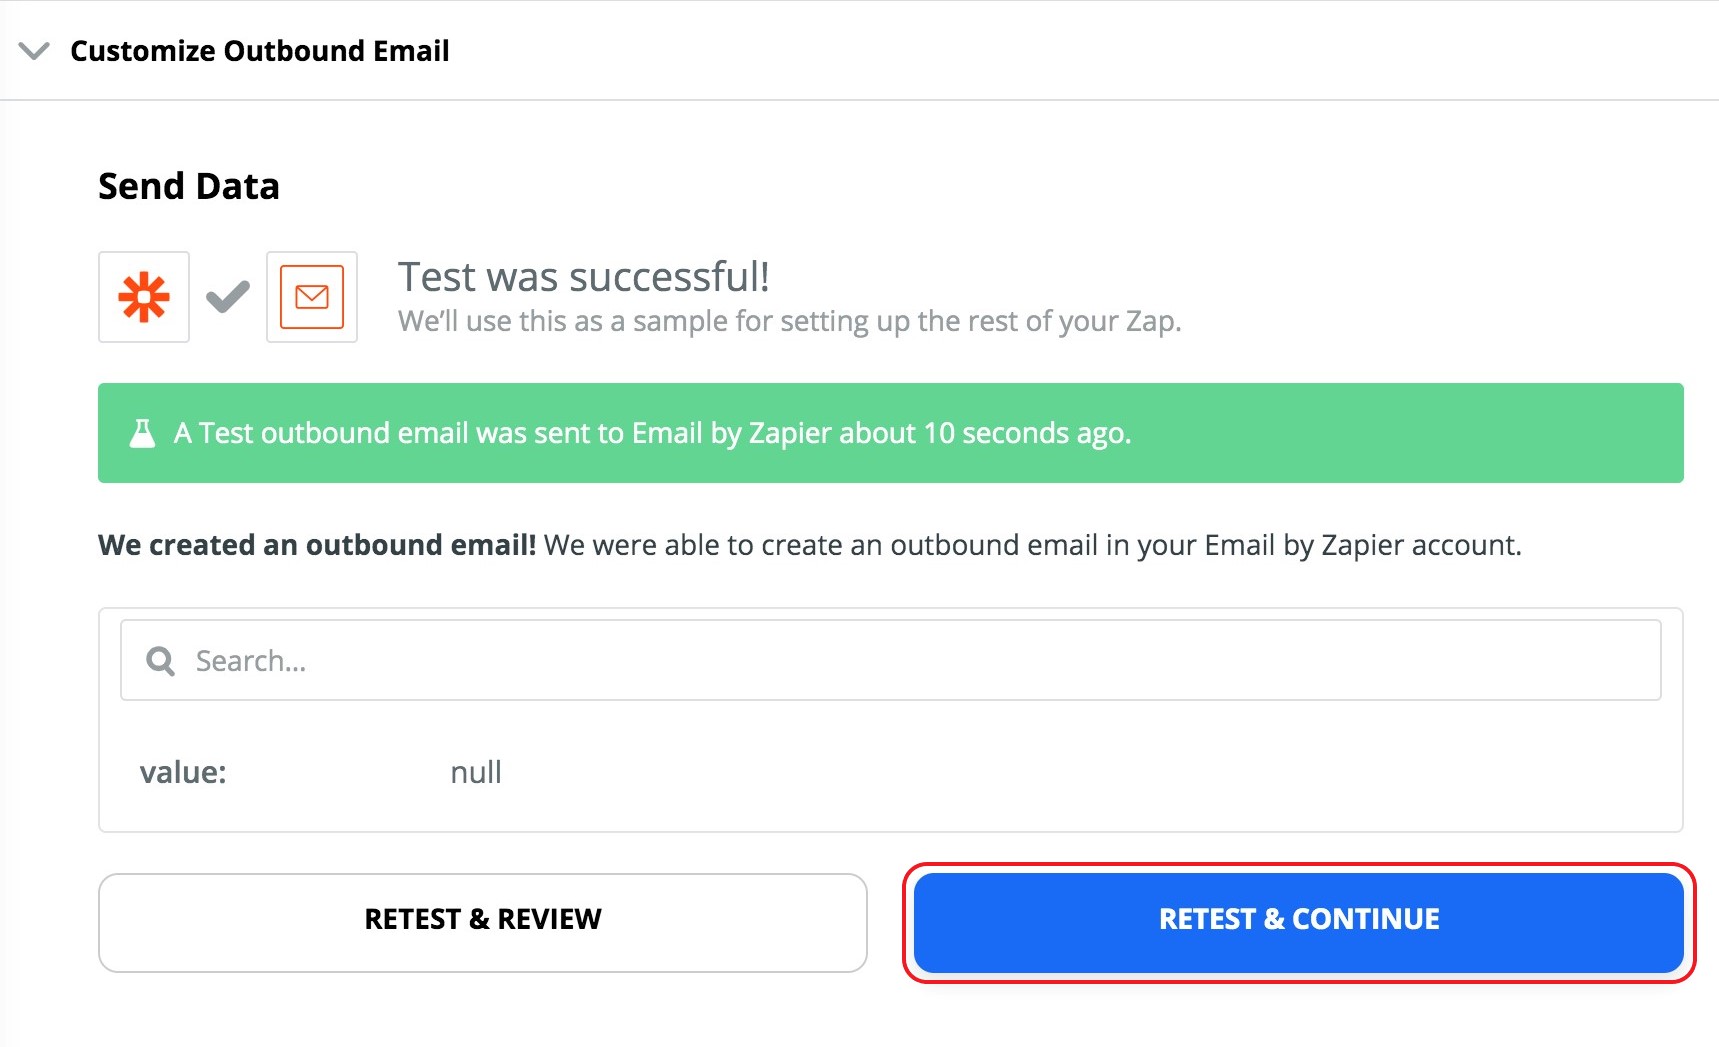
Note: dynamic fields can be using both the title and body of the email. - Save and generate a test email. Provided the test is successful, finish editing the Outbound Email.
- Your Zap is now ready to use! Select 'Turn Zap On' to start receiving email updates as the records are created or changed.
- To test: go to the Flowfinity 'Lead Registration' app and update any of the records. Review the email notification triggered.
The email should resemble the following screenshot: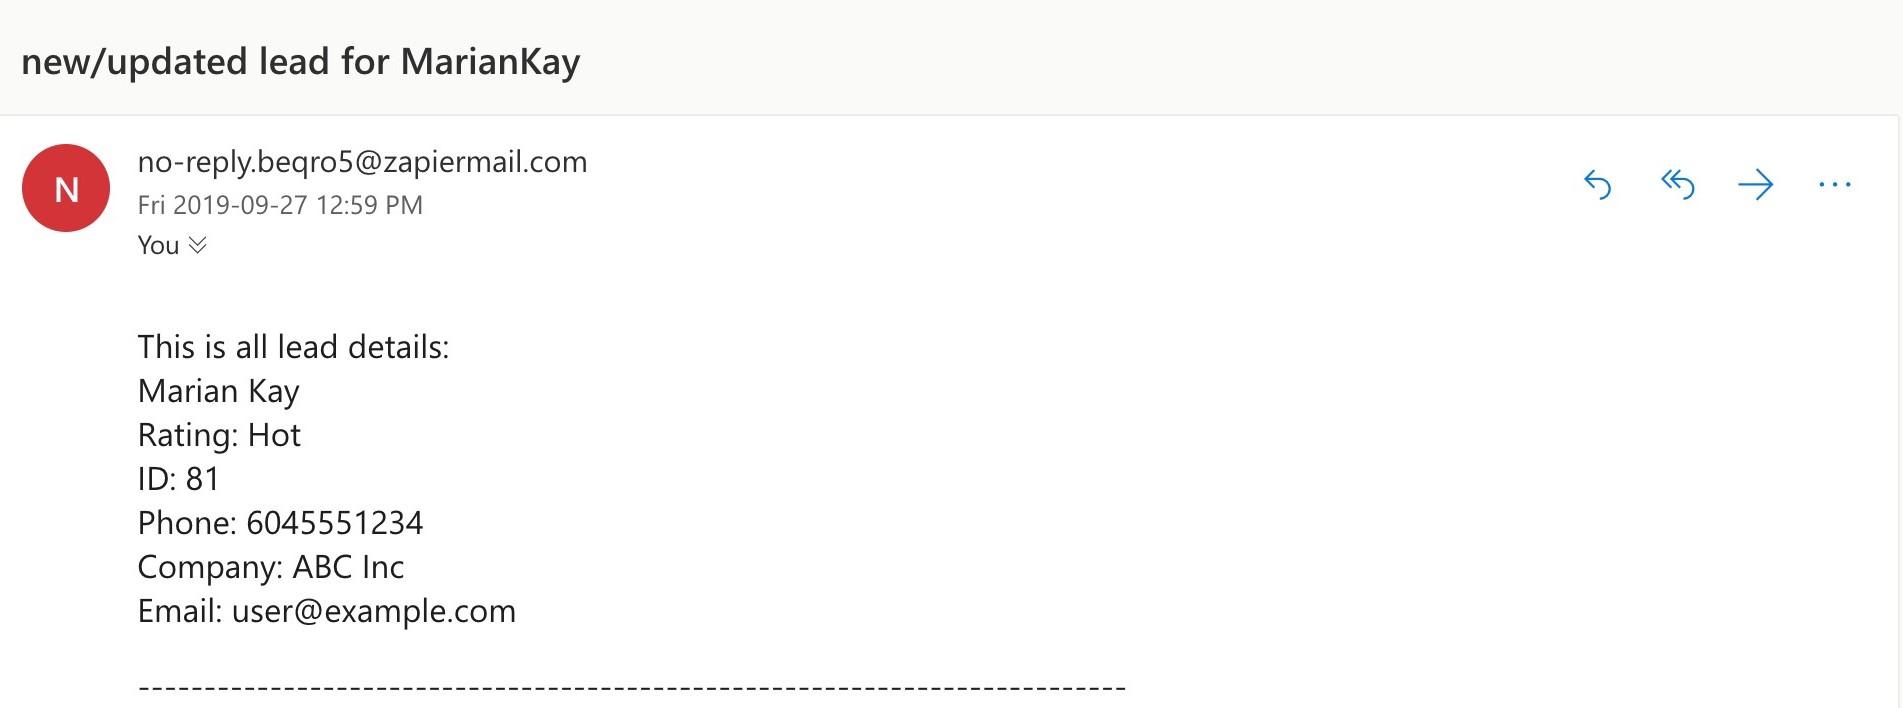
Special considerations when saving records received from Flowfinity Actions
Each record that you receive from Flowfinity Actions has a unique identifier ID. The identifier is a special ID generated by Flowfinity for Zapier, and it changes for each record update. Note: it has the same value as in the 'lastSubmissionID' system column of your View.
It's recommended to analyze the value of this special ID when saving the records to an external system to avoid duplicating records or updates.
Zapier automatically ensures data integrity by properly handling and duplicates when records are received from Flowfinity. This allows you to retry saving records to an external system if the initial attempt fails.
The run schedules and retry policy in Zapier ensure that even in cases when the network connection is interrupted or a logic error occurs, data is not lost.